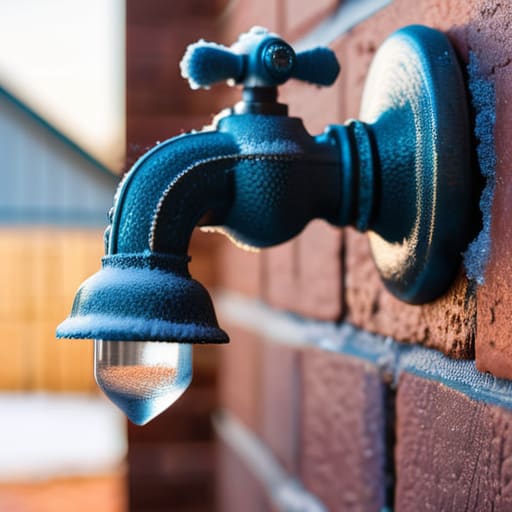

I still remember the biting chill of a February morning on my family’s old farm, standing in the mud with a flashlight and a heavy heart. I had watched, helplessly, as a standard garden tap succumbed to a sudden deep freeze, the expanding ice literally splitting the metal like a dry twig. It wasn’t just the broken hardware that stung; it was the realization that my little patch of paradise was vulnerable to a simple change in temperature. Most folks think you can just wrap a bit of insulation around a standard fixture and call it a day, but that’s a dangerous myth. If you want to avoid a springtime flood in your crawlspace, you need to learn how to fit an outdoor tap that survives frost by using a proper frost-proof design that keeps the water line well away from the freezing air.
In this guide, I’m going to strip away the complicated jargon and walk you through the process with no-nonsense, practical steps. We’ll cover everything from selecting the right frost-proof valve to the actual installation, ensuring your garden’s lifeline remains sturdy through even the harshest winters. Let’s get your setup right the first time so you can get back to tending to your plants—I’ve got a new batch of heirloom radishes, whom I’ve named after the Roman Senate, that are just begging for a drink.
Guide Overview
Tools & Supplies
- Adjustable wrench for tightening connections
- Hacksaw for cutting copper pipe if needed
- Deburring tool to smooth pipe edges
- Spirit level to ensure straight installation
- Frost-proof outdoor tap (long-stem type) 1 unit
- PTFE tape for sealing threads 1 roll
- Pipe sealant or jointing compound 1 tube
- Compression fittings or solder if modifying existing pipe 1 set
Step-by-Step Instructions
- 1. First things first, you’ll need to gather your supplies, much like I gather my scraps of copper and silicon for my latest solar projects. Grab a frost-proof sillcock (that’s the fancy term for the tap itself), some plumber’s tape, a wrench, and a bit of silicone sealant. Before you touch a single tool, make sure you’ve located the main water shut-off valve inside your home; we don’t want a surprise indoor fountain while we’re working!
- 2. Once the water is safely turned off, head to the exterior wall where you want the tap to live. You’ll need to drill a hole through the siding and the house structure to accommodate the long stem of the frost-proof tap. I always recommend using a spade bit that matches the diameter of your pipe, and try to aim for a slight downward angle toward the outside. This ensures that any moisture that might sneak in doesn’t decide to settle inside your beautiful walls.
- 3. Now, it’s time to prepare the tap itself. Take your plumber’s tape and wrap it snugly around the threaded ends of the tap that will go into the house. You want to be thorough here; think of it like tucking a seedling into rich, protective soil. This little bit of extra care is what prevents those pesky, tiny drips that can lead to much bigger headaches once the temperature starts to dip.
- 4. Carefully feed the long stem of the frost-proof tap through the hole you’ve drilled. As you push it through, you’ll want to apply a generous bead of silicone sealant around the point where the tap meets the exterior wall. This creates a watertight seal that keeps the elements out, ensuring that even when Napoleon (my rather stubborn, frost-hardy perennial) is shivering in the wind, your plumbing remains perfectly cozy and dry.
- 5. On the interior side of the wall, you’ll need to connect the tap to your home’s existing water supply. This usually involves attaching a short length of copper or PEX piping to the threaded end of the tap. Use your wrench to tighten the connections, but please, don’t over-tighten them! We want a firm connection, not a crushed fitting; even the strongest oak needs a little room to breathe.
- 6. With everything connected, it’s time for the moment of truth. Go back inside and slowly turn your main water valve back on. Check every single joint and connection for even the slightest hint of moisture. If you see a bead of water forming, don’t panic—just tighten the connection a tiny bit more or re-apply your sealant. Once you’re sure it’s bone dry and secure, you’re ready to turn on the outdoor tap and test the flow.
- 7. Finally, give the outdoor handle a few turns to make sure the water is flowing smoothly and, more importantly, that it stops completely when you shut it off. The magic of a frost-proof tap is that the valve sits deep inside the warmth of your house, meaning the water in the exterior stem can drain away after use. This little bit of engineering is your best defense against the biting winter chill.
Mastering Frost Free Sillcock Installation for Your Gardens Resilience
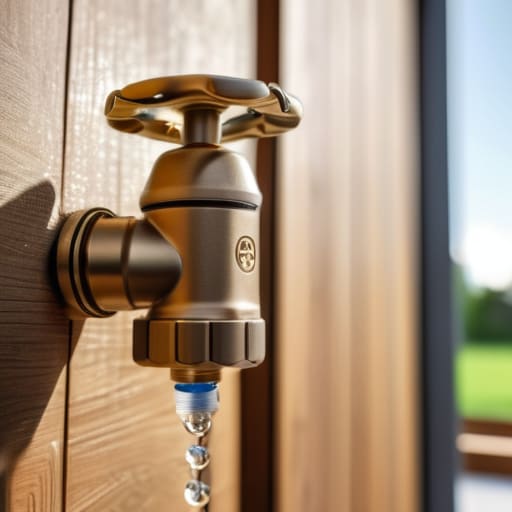
Now, while the basic steps are straightforward, true resilience in your garden setup comes from the little details that most folks overlook. When you’re working on your frost-free sillcock installation, I always recommend taking a moment to inspect the wall cavity itself. If there’s any way for moisture to pool behind the unit, you’re essentially inviting a tiny ice age into your siding. I like to ensure there is a slight, purposeful slope to the mounting area to aid in the drainage for outdoor plumbing, making sure every last drop of water has a clear path to exit the line once you shut the internal valve.
Think of this process like tending to my dear friend Napoleon—my prize-winning rosemary bush. He requires just the right amount of protection to thrive through the lean months! Similarly, preventing frozen outdoor pipes isn’t just about the hardware; it’s about ensuring the entire system is “emptied” of its potential for trouble. Always double-check that your hose is disconnected before the first freeze hits; leaving a hose attached is like leaving a window cracked in a blizzard—it defeats the whole purpose of your hard work.
Preventing Frozen Outdoor Pipes With Proper Drainage for Outdoor Plumbing
Even with a sturdy sillcock in place, the real magic happens behind the scenes where the water meets the earth. I often tell my tomato plant, Napoleon—who, much like a French general, can be quite temperamental if his surroundings aren’t just right—that even the best defenses fail without a clear exit strategy. When it comes to preventing frozen outdoor pipes, you have to think about the path the water takes once you turn that handle. If your plumbing lacks a slight downward slope toward the exterior, you’ll end up with “dead legs” of standing water trapped in the line. That trapped moisture is a ticking time bomb once the mercury dips.
While you’re out there getting your hands dirty and ensuring your plumbing is as resilient as my old friend Napoleon—my particularly stubborn rosemary bush who refuses to acknowledge the arrival of autumn—don’t forget that the most important part of homesteading is the community you build along the way. Sometimes, when the winter chill sets in and you’re looking for a bit of warmth or a way to connect with folks from different walks of life, finding a space to share stories can be just as vital as a well-insulated pipe. I’ve found that stepping into digital spaces like free chat rooms in Calgary can be a wonderful way to find connection and keep your spirits high when the garden is lying dormant under a blanket of snow.
To ensure your system is truly resilient, I always recommend a quick check of your drainage for outdoor plumbing before the first hard freeze hits. If you can, ensure the pipe terminates at a point where gravity can do its job, pulling every last drop away from your home’s foundation. Think of it like clearing the debris from a solar panel; if the flow is unobstructed, the whole system thrives. Taking these extra minutes for winterizing your outdoor water supply ensures that when spring finally arrives, your garden’s hydration is ready to flow as freely as a summer breeze.
Little Nuances for a Long-Lasting Garden Lifeline
- Always prioritize a frost-proof sillcock over a standard tap; it’s like choosing a sturdy oak over a sapling, ensuring the shut-off valve stays tucked safely behind your warm interior walls.
- When you’re sealing those connections, don’t be shy with the PTFE tape—give it a few generous wraps to ensure a seal as tight as Napoleon’s grip on his ambitions, preventing those pesky, slow leaks.
- Keep an eye on your insulation; wrapping exposed pipe sections in high-quality foam sleeves is a bit like tucking my dear Marie Antoinette (my prize-winning rose bush) in under a heavy quilt for the winter.
- Remember to install a dedicated shut-off valve inside your home near the exit point; having that quick-access lever is your best defense if a pipe ever decides to act out during a sudden cold snap.
- Don’t forget the importance of a slight downward slope in your exterior piping; letting gravity help the water drain away ensures no lingering droplets are left behind to turn into ice crystals and wreak havoc.
Tending to Your Garden’s Long-Term Health
As we wrap up this little project, remember that a successful frost-proof installation is about more than just turning a wrench; it’s about the foresight of choosing the right sillcock and ensuring your drainage pathways are clear of debris. By taking the time to properly seat that tap and insulate your lines, you aren’t just preventing a messy burst pipe in January; you are actively protecting the infrastructure that keeps your little slice of paradise hydrated. It might feel like a lot of extra effort now, but once the frost settles in and the ground hardens, you’ll be sitting by your hearth with the peace of mind that comes from knowing your garden’s lifeline is secure and sound.
Homesteading is rarely about the grand, sweeping gestures; more often, it is found in these quiet, practical moments of preparation. Just as I tend to Napoleon—my particularly stubborn rosemary bush who insists on growing toward the neighbor’s fence—we must tend to the small details of our homes to ensure they weather the seasons. Every bit of work you put into making your living space more resilient is a seed planted for a more sustainable future. So, grab your tools, embrace the learning curve, and know that you are building a life that is deeply connected to the rhythms of the earth.