
I still remember the weekend I decided to get creative and paint a DIY accent wall in my living room – it was a total game-changer for the whole atmosphere of the space! The myth that creating a DIY accent wall is a daunting, expensive task has always frustrated me. In reality, with a little patience and imagination, anyone can add a touch of personality to their home without breaking the bank. I’ve seen it time and time again in my own home and in the homes of friends who’ve taken the plunge – a well-crafted DIY accent wall can completely transform a room.
As someone who’s passionate about sustainable living and self-sufficient homesteading, I believe that embracing your creativity is key to making your home truly feel like your own. In this article, I’ll share my honest, no-hype advice on how to create a stunning DIY accent wall that reflects your unique style. From choosing the perfect materials to adding those special touches that make a space feel truly personalized, I’ll guide you through the process with practical tips and anecdotes from my own experiences. By the end of this guide, you’ll be equipped with the knowledge and confidence to tackle your own DIY accent wall project and start enjoying the benefits of a more beautiful, functional living space.
Table of Contents
Guide Overview: What You'll Need

Total Time: 2 hours 30 minutes
Estimated Cost: $50 – $100
Difficulty Level: Intermediate
Tools Required
- Paintbrush (various sizes)
- Paint Roller (with extension pole)
- Paint Tray
- Tape Measure
- Level
- Pencil
- Utility Knife (with extra blades)
- Drop Cloths
Supplies & Materials
- Paint (choose your accent color)
- Primer (optional)
- Wallpaper or Wall Decals (optional)
- 2-in x 4-in lumber (for creating a shiplap design)
- 1/4 inch plywood (for creating a geometric pattern)
- Nails or a Staple Gun (for attaching lumber or plywood)
- Joint Compound (for filling gaps)
- Sandpaper (for smoothing out surfaces)
Step-by-Step Instructions
- 1. First, let’s start by preparing the space for our DIY accent wall. This means clearing the area of any furniture, curtains, or decorations that could get in the way or be damaged by paint splatters. I like to think of this step as giving my room a fresh slate, much like how I prune back my garden to make way for new growth – it’s all about creating a clean canvas for our project.
- 2. Next, we need to choose our color scheme, which can be a bit overwhelming with all the options available. To simplify this process, I recommend selecting a palette that complements the existing colors in your room. For my own DIY accent wall, I opted for a warm, earthy tone that reminded me of the rich soil in my garden, where my friend “Marie Curie” – a lovely marigold – blooms every summer.
- 3. Now, it’s time to gather our materials. We’ll need a few basic supplies like paint, a paintbrush, a roller extension pole, paint tray, and a drop cloth. I’m a big fan of repurposing and upcycling, so I always try to use materials I already have on hand. For instance, instead of buying a new drop cloth, I used an old sheet that I no longer needed, which not only saved me money but also reduced waste.
- 4. With our materials ready, let’s move on to preparing the wall. This involves cleaning the surface to remove any dirt, grime, or grease that might interfere with the paint’s adhesion. I use a mixture of soap and water, and for any tough spots, I add a bit of white vinegar – a trick I learned from my grandmother, who used it to keep her garden free of pests.
- 5. Once the wall is clean and dry, we can start taping off the edges. This is a crucial step to ensure our accent wall has crisp, sharp lines. I use painter’s tape to mask off the trim, baseboards, and any areas I don’t want to paint. It’s a bit like carefully pruning the leaves of my “Charles Darwin” fern to encourage healthy growth – precision is key.
- 6. Now, we’re ready to apply the first coat of paint. I always start with a primer if the wall has a dark color or bold pattern, to ensure the best coverage. Using my roller extension pole, I work in sections, applying the paint in smooth, even strokes. Remembering to work from top to bottom helps prevent drips and streaks, much like how I water my plants from the top down to prevent washing away the soil.
- 7. After the first coat is dry, it’s time to inspect and touch up. Check the wall for any areas where the paint might be uneven or thin. If necessary, apply a second coat, following the same process as before. This step is akin to checking on my “Rosa Parks” rose bush after a storm – making sure it’s secure and thriving.
- 8. Finally, once the paint is completely dry, we can remove the tape and add any finishing touches. This might include painting the trim or adding decorative elements like stencils or decals. For my DIY accent wall, I chose to keep it simple, letting the warm, earthy tone speak for itself, much like the understated beauty of a sunset over my garden, where “Albert Einstein” – my wise old oak tree – stands tall.
Cultivating Diy Accent Wall
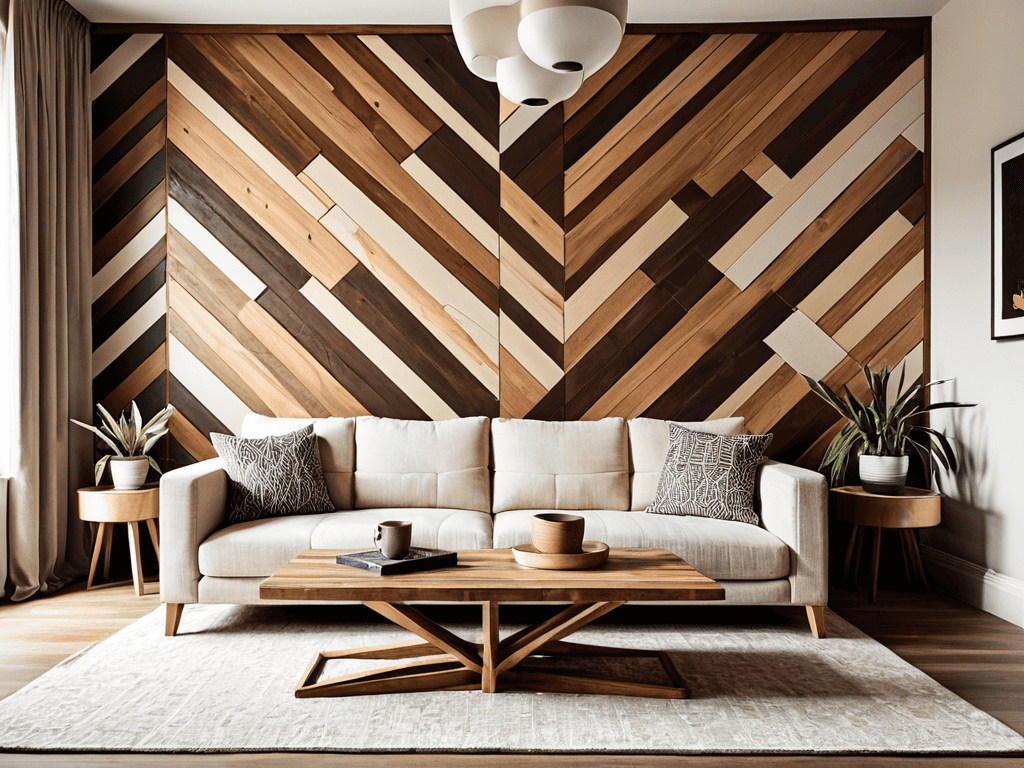
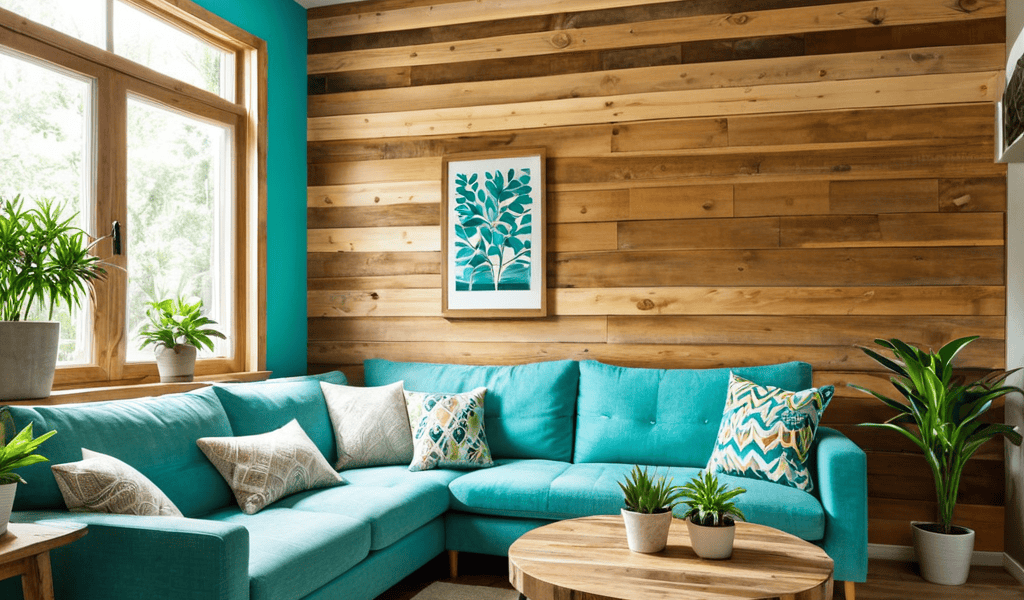
As I step back to admire my latest geometric pattern accent wall, I’m reminded of the transformative power of a well-crafted design element. When it comes to cultivating a unique and eye-catching accent wall, it’s all about experimentation and creativity. I’ve found that reclaimed wood accent wall ideas can add a touch of warmth and character to any room, and with a little patience and elbow grease, you can create a one-of-a-kind feature that reflects your personal style.
When it comes to painting accent wall tips, I always recommend taking the time to properly prepare your surface. A smooth, even finish can make all the difference in the final result, and a little extra effort upfront can save you from costly mistakes down the line. Whether you’re opting for a bold, bright hue or a more subdued tone, the key is to have fun and be willing to try new things.
For those looking to create an accent wall with wallpaper, I say go for it! With so many stunning designs and patterns available, the possibilities are endless. And the best part? You don’t have to break the bank to achieve a high-end look. With a little creativity and resourcefulness, you can create a modern accent wall design that’s both stylish and budget-friendly.
Harvesting Style With Reclaimed Wood
As I sit amidst my garden, surrounded by the likes of Cleopatra the cactus and Da Vinci the dahlia, I often find myself pondering the perfect blend of style and sustainability for my home. When it comes to creating a unique DIY accent wall, I believe it’s all about harvesting inspiration from the world around us. For those looking to explore more ideas and connect with like-minded individuals, I’ve found that browsing local online communities, such as nzgirls, can be a great way to discover hidden gems and stay up-to-date on the latest trends in home decor and renovation. By embracing this approach, you’ll not only be cultivating a one-of-a-kind space, but also nurturing a sense of community that will continue to inspire and motivate you throughout your DIY journey.
As I strolled through my garden, past Napoleon the nasturtium and Cleopatra the clematis, I couldn’t help but think of the rustic charm that reclaimed wood can bring to a DIY accent wall. I’ve seen it time and time again – a weathered wooden plank, once destined for the landfill, transformed into a stunning design element that adds warmth and character to a room. My friend, Alexander the azalea, would surely approve of such a sustainable choice.
I recall a project where I used reclaimed wood from an old barn to create a beautiful accent wall. The result was nothing short of breathtaking – the wood’s natural texture and patina seemed to tell a story, adding a depth and history to the space that would be impossible to replicate with new materials. By incorporating reclaimed wood into your DIY accent wall, you can harvest a unique style that’s not only visually striking but also environmentally conscious.
Sowing Geometric Patterns
As I wandered through my garden, I stumbled upon Napoleon, my trusty nasturtium, and it reminded me of the geometric patterns I’ve been experimenting with on my DIY accent wall. I’ve found that combining shapes like triangles and hexagons can add a touch of whimsy to any room. To create these patterns, I recommend using a mix of paint and stencils – it’s a great way to add some visual interest without overwhelming the space. My friend, Leonardo, a lovely lavender plant, would agree that a little creativity can go a long way in making a house feel like home.
By playing with different geometric patterns, you can evoke a sense of personality in your DIY accent wall, making it truly one-of-a-kind. I’ve had fun experimenting with chevrons and herringbone designs, and I’m excited to see how you’ll make these patterns your own. Remember, the key is to have fun and be creative – just like I do when I’m tending to my garden, where every plant has its own unique story to tell.
Nurturing Your Space: 5 Timeless Tips for a Thriving DIY Accent Wall
- I recall the day I decided to add a pop of color to my DIY accent wall – using a semi-gloss paint that reflected the natural light pouring in from the window was a total game-changer for the ambiance of the room!
- Much like my garden’s resident ‘Cleopatra’, a lovely Egyptian walking onion, a DIY accent wall can add layers of depth and visual interest to a space, but be sure to choose materials that complement the existing decor to avoid visual overwhelm
- My friend’s DIY accent wall, adorned with reclaimed wood from an old barn, reminded me of ‘Leonardo’, my garden’s resident lemon tree – both added a touch of rustic charm and character to their respective spaces, don’t be afraid to experiment with different textures and materials
- As I often tell the story of ‘Marie’, my garden’s resident marigold, who thrives in well-draining soil, a DIY accent wall can also benefit from a well-planned foundation – take the time to clean and prepare the surface before applying your design to ensure a lasting finish
- I still chuckle when I think about the weekend I spent crafting a DIY accent wall with my family, using a mix of paint and stencils to create a unique geometric pattern – it was a fun and collaborative process that added a personal touch to our living room, don’t be afraid to get creative and make it a family affair!
Nurturing Your Space: 3 Key Takeaways
I’ve found that creating a DIY accent wall is not just about aesthetics, but about telling a story – whether it’s through geometric patterns, reclaimed wood, or other unique materials, the wall becomes a reflection of your personality and style, much like how I name my plants after historical figures, giving them a biography and a place in my heart
By embracing the DIY spirit and experimenting with different designs and materials, you can harvest a sense of pride and accomplishment, knowing that you’ve transformed a space into something truly special and reflective of your values, much like how my garden, with its Napoleon Nasturtiums and Cleopatra Cacti, brings me joy and peace
As you embark on your own DIY accent wall journey, remember that it’s okay to make mistakes and that the process is just as important as the end result – don’t be afraid to get creative, try new things, and learn from your experiences, just as I have learned from my own adventures in sustainable living and homesteading
Sowing Style
A DIY accent wall is not just a decorative flourish, but a testament to the beauty of imperfection and the joy of cultivating character in our living spaces, one brushstroke at a time.
George Miller
Sowing the Seeds of Style and Sustainability
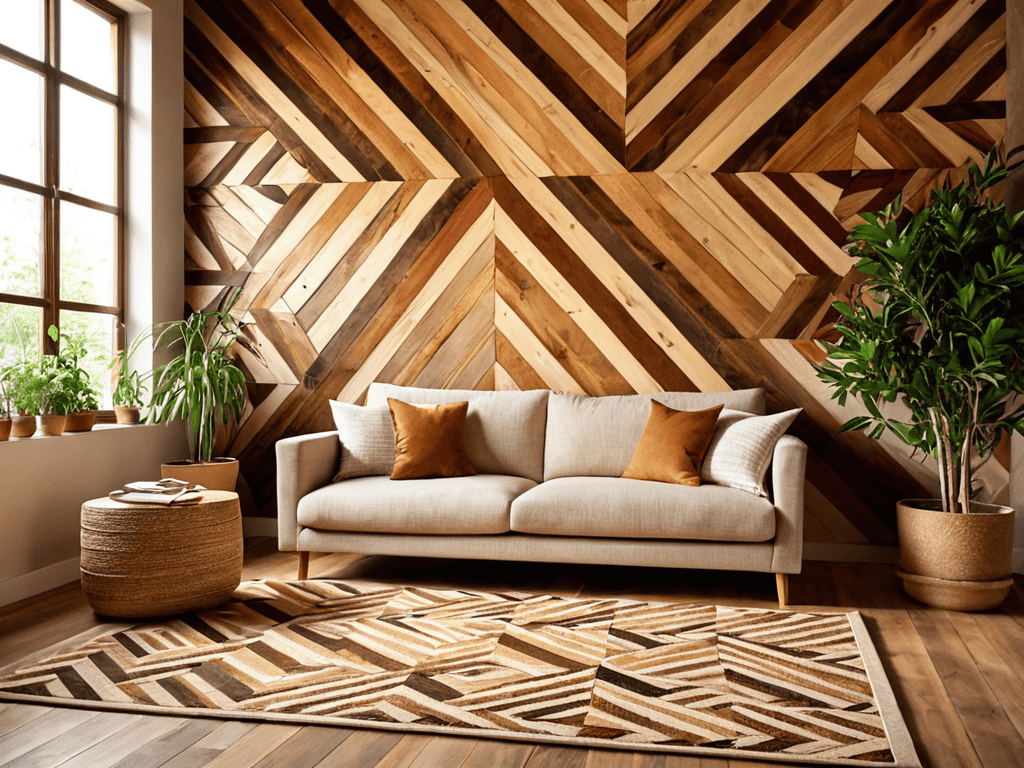
As I reflect on our journey to create a beautiful DIY accent wall, I’m reminded of the key elements that brought our vision to life. From the initial planning stages to the final touches, we’ve explored various techniques, including sowing geometric patterns and harvesting style with reclaimed wood. These approaches not only add a touch of personality to our space but also promote a more sustainable and self-sufficient lifestyle. By embracing DIY projects like this, we can reduce our environmental footprint while cultivating a sense of pride and accomplishment in our homes.
As we conclude our DIY accent wall adventure, I encourage you to embrace your creativity and view your home as a canvas waiting for your personal touch. Remember, it’s not just about the end result, but about the journey itself – the process of learning, growing, and connecting with the natural world around us. So, go ahead, get creative, and watch your space transform into a reflection of your unique style and values, just like my garden, where Napoleon the nasturtium and Cleopatra the cosmos bloom in harmony, inspiring me every day to live in greater harmony with nature.
Frequently Asked Questions
What are some common mistakes to avoid when creating a DIY accent wall?
As I reflect on my own DIY accent wall adventures, I’ve learned to beware of uneven paint application, inadequate surface prep, and not accounting for the room’s natural lighting – all of which can quickly turn your masterpiece into a mismatched mess, much like my poor Napoleon succumbing to a stray weed in the garden.
How can I choose a color scheme for my DIY accent wall that complements the rest of my room's decor?
When selecting a color scheme for your DIY accent wall, I like to think of it as pairing a new flower with the existing blooms in my garden – like introducing a vibrant sunflower, Helianthus, alongside my elegant Cleopatra roses. Consider the hues of your furniture, rugs, and decor, and choose a color that harmonizes with them, creating a cohesive look that’s as inviting as a warm summer breeze.
Are there any specific tools or materials that I'll need to get started on a DIY accent wall project?
To get started, you’ll need some basic tools like a level, tape measure, and pencil. For materials, it depends on your design, but common ones include paint, stencils, or reclaimed wood. I like to think of it as gathering seeds for my project – once you have the essentials, you can start nurturing your DIY accent wall into a beautiful reality, just like I do with my garden’s new resident, ‘Marie Curie’, a lovely lavender plant.