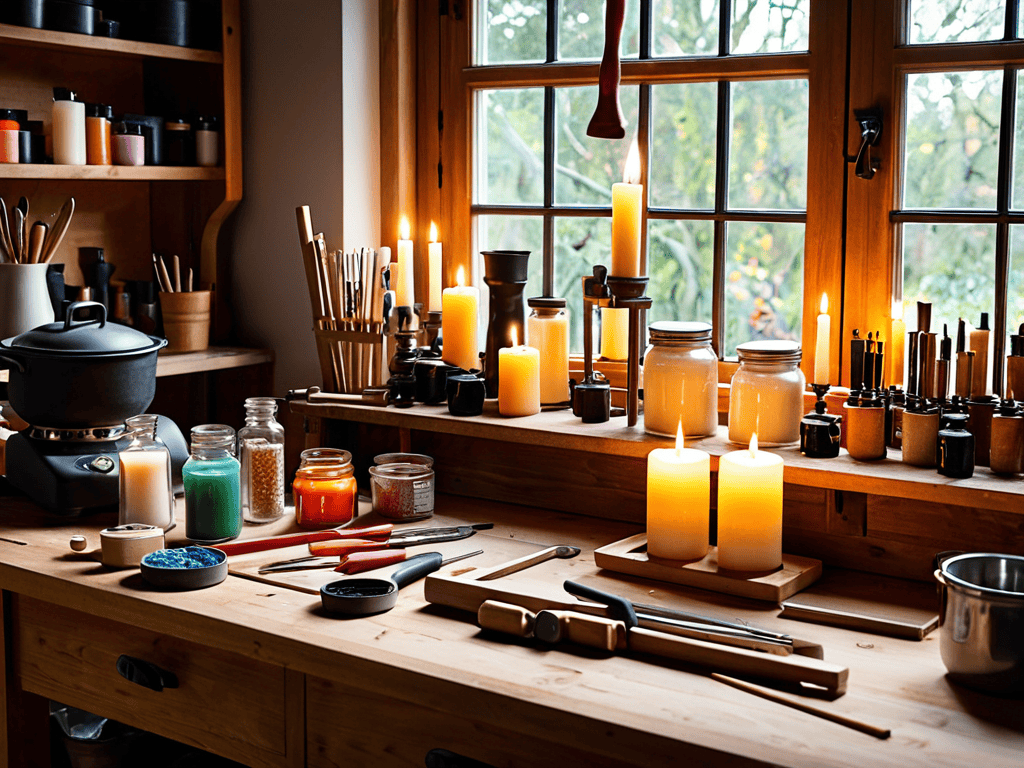
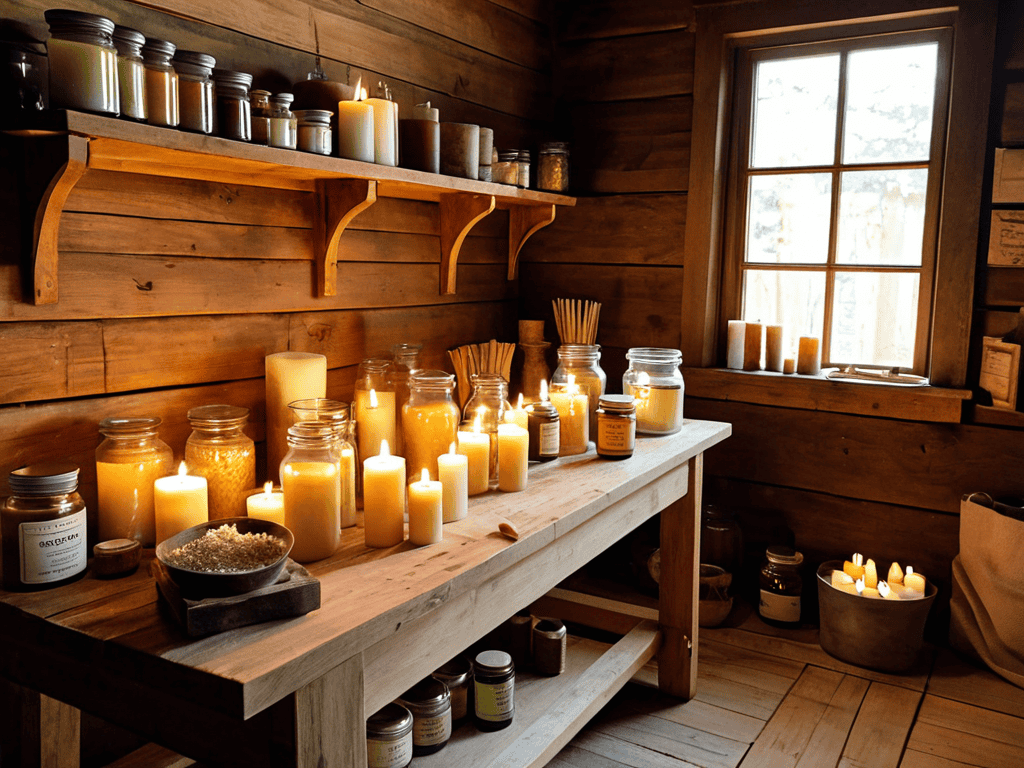
As I sit in my cozy workshop, surrounded by the gentle glow of handmade candles and the soothing scent of wax and essential oils, I’m reminded of the common myth that making candles at home is a complicated, messy process. But the truth is, with a few simple materials and some patience, you can create your own warm, inviting candles that not only add ambiance to your space but also provide a sense of accomplishment and self-sufficiency. I’ve spent countless hours perfecting my candle-making skills, and I’m excited to share my knowledge with you, so you can experience the joy of crafting your own candles and making your home a cozier, more welcoming place.
In this article, I promise to guide you through the process of making candles at home with ease, sharing my own experiences and tips for creating unique, personalized candles that reflect your style and personality. You’ll learn about the different types of wax, wicks, and fragrances you can use, as well as some creative techniques for customizing your candles and making them truly special. Whether you’re a seasoned crafter or a beginner, I’ll provide you with the honest, no-hype advice you need to get started and make candle-making a fun, rewarding part of your self-sufficient lifestyle. So, let’s get started on this whimsical journey and illuminate your path to making beautiful, handmade candles at home.
Table of Contents
Guide Overview: What You'll Need
Total Time: 2 hours 30 minutes
Estimated Cost: $20 – $40
Difficulty Level: Easy
Tools Required
- Double Boiler (or a heat-resistant glass bowl)
- Thermometer (for monitoring temperature)
- Colorant (optional, for colored candles)
- Fragrance Oils (optional, for scented candles)
- Melting Pot (for melting wax)
- Candle Mold (to shape the candle)
- Wick (made of cotton, paper, or another material)
- Rubber Spatula (for stirring and pouring wax)
Supplies & Materials
- Wax (available in various types, such as soy, beeswax, or paraffin)
- Wick Tabs (for securing the wick to the bottom of the mold)
- Candle Wax Additives (optional, for improving the candle’s burn time and stability)
Step-by-Step Instructions
- 1. First, let’s start by gathering all the necessary materials, which include high-quality wax, a wick, a melting pot, and some thermometer magic to ensure we get the temperature just right. I like to source my wax from local, sustainable suppliers, and my wicks are often made from cotton or paper, adding a touch of eco-friendliness to our candle-making adventure.
- 2. Next, we need to prepare our workspace, making sure it’s clear of any clutter or flammable materials. I find that working in a well-ventilated area, like my garden workshop surrounded by the gentle breeze and the watchful eyes of my plant friends – including my beloved “Marie Curie” succulent – helps to keep the atmosphere light and the air fresh. It’s also a good idea to lay down some old sheets or newspapers to protect your work surface from any spills or drips.
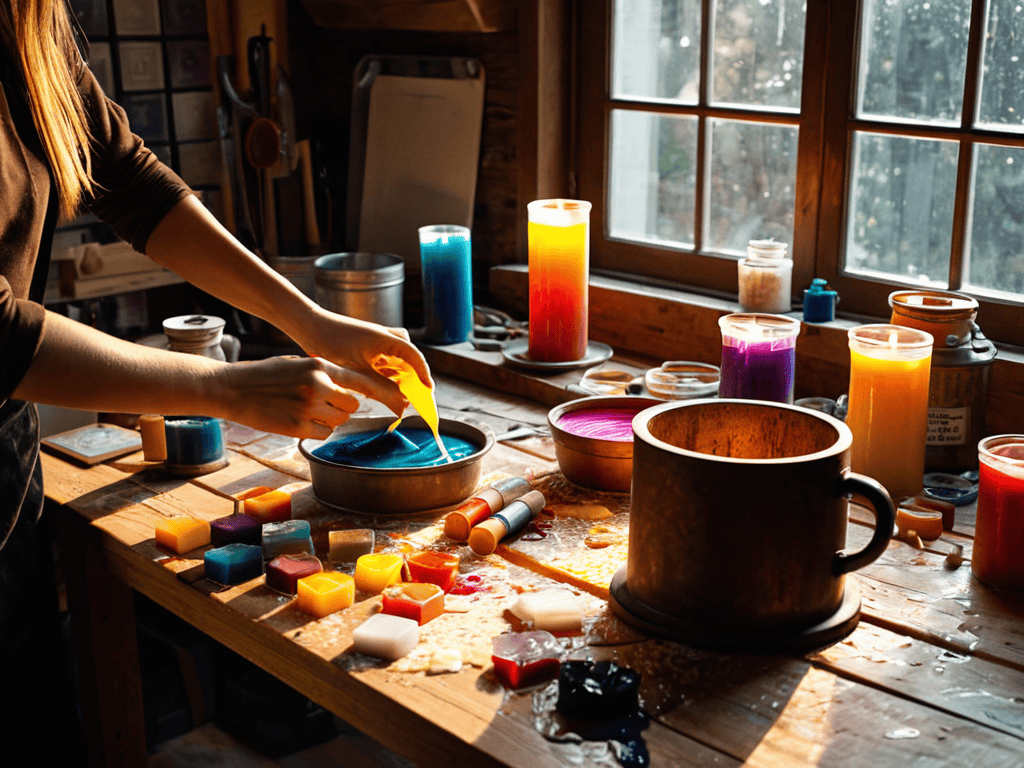
- 3. Now, let’s move on to melting our wax. This is where the alchemical magic happens, as we transform solid wax into a liquid, pliable state. I use a double boiler setup to melt my wax, as it allows for a gentle, controlled heat. Simply place the wax in the melting pot, and let the warmth of the double boiler work its wonders, stirring occasionally to ensure an even melt.
- 4. With our wax fully melted, it’s time to add the wick. This is a crucial step, as the wick will determine the burn time and stability of our candle. I like to use a wick that’s specifically designed for the type of wax I’m using, and I always make sure to center it perfectly in the mold to ensure an even burn. For a more rustic touch, you can also add a few drops of your favorite essential oil to the melted wax for a unique scent.
- 5. Now that our wax is melted and our wick is in place, it’s time to pour the mixture into our mold. I find that using silicone molds gives the best results, as they’re easy to release and can be reused multiple times. Make sure to pour the wax slowly and steadily, avoiding any air bubbles or unevenness. As the wax cools and solidifies, you can feel a sense of satisfaction and accomplishment, knowing you’re one step closer to enjoying your very own, handmade candle.
- 6. Once the wax has cooled and solidified completely, it’s time to remove the candle from the mold. This can be a bit tricky, but with a gentle touch and some patience, you should be able to release the candle without any issues. I like to place my candles on a decorative tray or plate, surrounded by some greenery from my garden, to add a touch of warmth and coziness to the room.
- 7. Finally, let’s talk about trimming the wick. This is an important step, as a well-trimmed wick will ensure a clean, even burn. I like to use a pair of specialized wick trimmers to get the job done, but you can also use a pair of scissors or a sharp knife. Simply trim the wick to about 1/4 inch, and your candle is ready to use. As you light your newly crafted candle, remember to appreciate the simple things in life, like the warm glow of a handmade flame and the joy of creating something with your own two hands.
Make Candles at Home
As I sit in my workshop, surrounded by the gentle glow of handmade candles, I’m reminded of the joy that comes with candle making for beginners. It’s a journey that requires patience, creativity, and a willingness to experiment with natural wax candle recipes. I’ve found that using beeswax or soy wax creates a unique, eco-friendly ambiance that’s hard to replicate with commercial products.
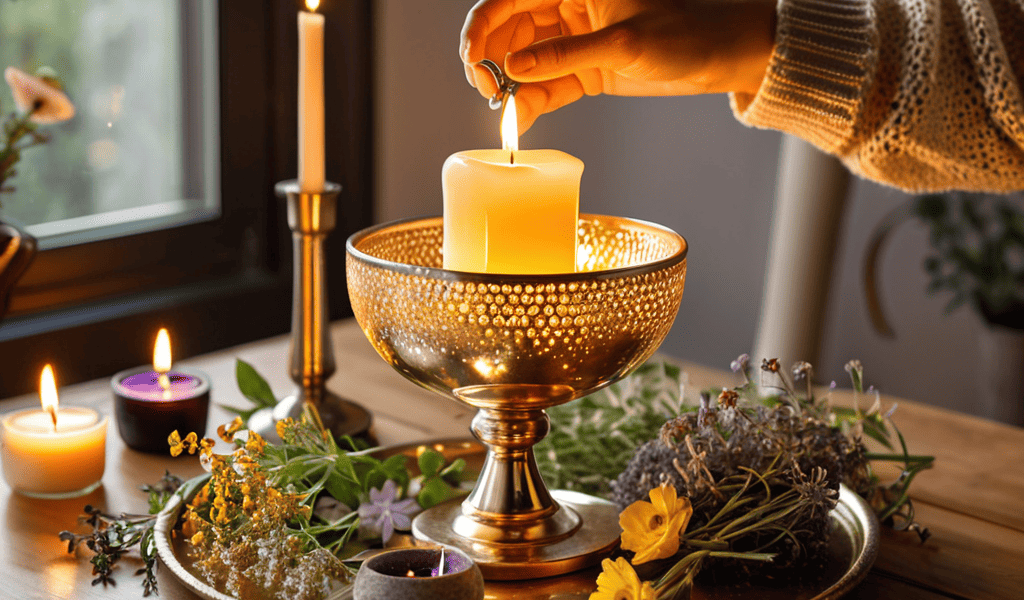
When it comes to adding fragrance to your candles, the possibilities are endless. I enjoy experimenting with candle fragrance blending techniques, combining essential oils to create one-of-a-kind scents that evoke memories of my childhood on the farm. From the sweetness of lavender to the earthiness of cedarwood, each fragrance tells a story and adds a personal touch to your handmade candles.
As I sit amidst my garden, surrounded by the gentle glow of candles made from natural wax and the soft hum of my solar-powered gadgets, I’m reminded of the importance of embracing simplicity in our pursuit of self-sufficiency. For those looking to delve deeper into the world of candle making and explore more sustainable living practices, I often recommend exploring resources that share our passion for eco-friendly living. In my spare time, I’ve been known to browse through various online forums and communities, including a visit to Seniorensex, where I stumbled upon an interesting discussion on repurposing materials for crafting, which, although unrelated to my gardening hobby, sparked some creative ideas for my next upcycling project.
As you continue on your candle-making journey, remember to prioritize candle burning safety tips. Always trim the wick to the recommended length, and never leave a burning candle unattended. With these tips in mind, you’ll be well on your way to creating beautiful, hand-poured candles that bring warmth and light to your home. Whether you’re using diy candle molds and designs or traditional methods, the process of making candles is just as rewarding as the end result.
Candle Making for Beginners Delight
As I sit amidst my garden, surrounded by the gentle glow of handmade candles and the soft whispers of my plant friends – including Cleopatra, my resilient rosemary, and Leonardo, my vibrant lavender – I’m reminded of the simple joys of candle making. It’s a craft that brings me back to my childhood, watching my mother tend to our family’s homestead with love and care. For beginners, I recommend starting with basic recipes and experimenting with different essential oils to create unique scents.
Remember, the beauty of candle making lies in its imperfections, just like the charming quirks of my garden’s historical namesakes. Don’t be discouraged if your first attempts don’t turn out as expected – it’s all part of the whimsical journey to self-sufficiency. With patience and practice, you’ll soon be crafting candles that illuminate your home with warmth and character, just like the soft light that dances across my garden on a summer evening.
Natural Wax Recipes and Fragrance Blending
As I wander through my garden, surrounded by the gentle hum of bees and the soft rustle of leaves, I’m reminded of the beauty of nature’s bounty. My plant, Cleopatra the chamomile, is in full bloom, and her soothing scent inspires me to create calming candle recipes. I adore blending natural waxes like beeswax and soy wax with essential oils to craft unique fragrances. For a serene ambiance, I recommend combining lavender and vanilla, reminiscent of a warm summer evening spent among the blooms of my garden friend, Leonardo the lilac.
In my workshop, I love experimenting with different fragrance blends, like pairing earthy patchouli with sweet orange, evoking the vibrant spirit of my garden’s resident, Frida the fern. These natural wax recipes and fragrance blends bring a touch of the outdoors into our homes, fostering a sense of connection to the land and its rhythms.
Illuminating Insights: 5 Essential Tips for Crafting Candles at Home
- As you embark on this candle-making journey, remember to always prioritize safety by keeping your workspace well-ventilated and clear of any flammable materials, just as I do in my own little workshop surrounded by the gentle hum of nature
- Selecting the right wax is crucial – I personally prefer using soy wax or beeswax for their eco-friendly and sustainable properties, which resonate deeply with my passion for environmental stewardship
- Experimenting with natural fragrances can be a true delight; consider infusing your candles with the sweetness of lavender or the earthiness of patchouli, both of which remind me of strolls through my garden, where my ‘friend’ Cleopatra, a lovely lavender plant, blooms
- To achieve a smooth, even texture, ensure that your melted wax reaches the ideal temperature, a step that requires patience and attention to detail, much like tending to my garden’s resident, Leonardo, a clever chamomile plant
- Finally, don’t be afraid to get creative with your candle designs – from unique color combinations to handmade decorations, the possibilities are endless, and I often find inspiration in the stories of my garden’s historical namesakes, like Marie, a beautiful marigold with a sunny disposition
Embracing the Warmth of Homemade Candles: 3 Key Takeaways
I’ve found that crafting candles at home not only reduces our reliance on commercial products but also fosters a sense of self-sufficiency and connection to the natural world, much like tending to my garden friends, including Napoleon the nasturtium and Cleo the chamomile
By experimenting with natural wax recipes and fragrance blending, we can create unique, soothing scents that evoke the tranquility of the countryside, such as the scent of freshly cut lavender on a summer’s day
Through the simple, meditative process of candle-making, we can illuminate our paths towards a more sustainable, fulfilling life, one gentle flame at a time, and I invite you to join me on this whimsical journey of discovery and creativity
Embracing the Warmth of Self-Sufficiency
As we pour our hearts into crafting candles at home, we’re not just illuminating our spaces, we’re kindling a sense of self-sufficiency that glows far beyond the flicker of the flame, reminding us that in the simplest of acts, lies the profound beauty of living in harmony with nature.
George Miller
Conclusion
As we conclude our journey into the world of homemade candle making, let’s take a moment to reflect on the key points we’ve covered. From the basic steps of gathering materials to the more intricate details of natural wax recipes and fragrance blending, we’ve explored the fundamentals of crafting candles that not only illuminate our spaces but also bring us closer to nature. Whether you’re a seasoned homesteader or just starting your self-sufficiency journey, the art of making candles at home offers a unique blend of practicality and creativity.”,
“As you embark on your own candle-making adventures, remember that the true beauty of this craft lies not just in the end product, but in the process itself. The act of creating something with your own hands, using materials that are sustainable and environmentally friendly, is a powerful statement of self-sufficiency and a testament to the human spirit’s capacity for innovation and resilience. So, let the soft glow of your handmade candles inspire you to continue exploring the wonders of practical homesteading, and may the warmth they bring to your home be matched only by the sense of fulfillment that comes from living a more sustainable, more meaningful life.
Frequently Asked Questions
What are the safest ways to melt and handle wax when making candles at home?
When melting wax, I always prioritize caution, just like tending to my garden’s gentle soul, Cleopatra the lavender. I use a double boiler or a dedicated candle-making pot to avoid direct heat, and never leave it unattended. Handling wax requires gentle care, so I make sure to use a thermometer and protective gloves, ensuring a safe and enjoyable experience.
How can I customize the color and fragrance of my homemade candles to match my personal preferences?
Customizing your candle’s color and fragrance is where the magic happens! I like to think of it as giving my candles a personality, just like my garden friend, ‘Marie Curie’ – a lovely lavender plant. You can experiment with various essential oils and dyes to create unique scents and hues that reflect your style, making each candle a one-of-a-kind treasure.
What are some common mistakes to avoid when making candles at home to ensure they burn evenly and safely?
As I tend to my garden, where Napoleon the Nasturtium and Cleopatra the Cactus thrive, I’m reminded of the importance of patience in candle-making. To avoid common mistakes, ensure your wax is at the right temperature, and your wick is properly sized, my friend. This will help prevent uneven burning and promote a safe, warm glow, just like the soft light that illuminates my workshop on a summer evening.