I was polishing the pine table beside my garden when the printer on the porch whirred to life, laying down a lattice layer by layer. In that moment I realized that building a DIY 3D‑printed prosthetic isn’t a distant sci‑fi fantasy reserved for labs—it’s a project I could tackle with the hands that once grafted tomato seedlings onto beds. The myth that you need a Ph.D. in engineering to craft a functional limb is as stubborn as a weed; truth is a spool, a printer, and a pinch of ingenuity can turn files into a supportive device.
In the pages that follow, I’ll walk you through workflow I used: pick a free hand model, slice it with settings that keep filament waste under a dollar, print the parts on the shed’s printer, and shape a sleeve that feels as familiar as my garden gloves. You’ll get a printable parts list, a budget that stays under a grocery bill, and few troubleshooting tricks that saved me from a jammed nozzle. By the end, you’ll have a functional prosthetic you printed yourself—and confidence to tweak it for a neighbor in need.
Table of Contents
- Step-by-Step Instructions
- Harvesting Lowcost 3d Printed Prosthetic Design Secrets
- Sowing Biocompatible Filament for Prosthetic Growth
- Five Home‑grown Hacks for Your First 3D‑Printed Prosthetic
- Three Takeaways for Your Home‑Made Prosthetic Adventure
- Crafting Hope, Layer by Layer
- Harvesting the Finish
- Frequently Asked Questions
Guide Overview
Tools & Supplies
- 3D printer (FDM or SLA, for printing prosthetic parts)
- Slicer software (e.g., Cura or PrusaSlicer)
- Digital calipers (for precise measurements)
- Rotary tool or drill (for post‑processing holes and slots)
- Sandpaper set (various grits for smoothing printed surfaces)
- Screwdriver set (for assembling mechanical components)
- PLA or PETG filament, 1 kg
- Silicone rubber sheet, 1 ft² (for socket liner)
- Nylon screws, assorted sizes (M2–M4)
- Electrical components – microcontroller, EMG sensors, wiring (optional)
- Medical‑grade adhesive, small tube
- Heat‑shrink tubing, 1 m (for wiring protection)
Step-by-Step Instructions
- 1. Gather your garden‑sized workshop supplies – I start by pulling the trusty 3‑D printer out of the shed, giving it a quick dust‑off, and laying out a clean workbench. You’ll need a reliable filament (PLA works well for most prosthetic parts), a set of Allen wrenches, a digital caliper for precise measurements, and a sturdy pair of safety goggles. Don’t forget a fresh roll of adhesive tape to keep the filament dry; a dry filament is the secret to smooth printing.
- 2. Design the prosthetic model – I fire up my favorite open‑source CAD software (Fusion 360 is a solid free option) and import the patient’s limb measurements. Sketch the socket, the joint mechanisms, and any custom grip features, then run a quick simulation to catch any stress points. Once satisfied, export the design as an STL file, naming it something whimsical like “Lincoln‑Socket.stl” to keep the garden spirit alive.
- 3. Slice the model for printing – Open the STL in your slicer (Cura is my go‑to), set the layer height to 0.2 mm for a good balance of strength and speed, and choose a 20% infill for structural integrity. Enable supports where overhangs exceed 45°, and double‑check the nozzle temperature (around 200 °C for PLA). Save the G‑code to a micro‑SD card, and give the file a playful title like “Abraham‑Arm.gcode”.
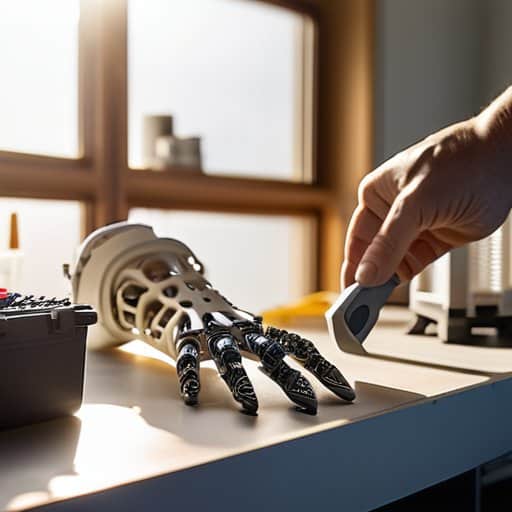
- 4. Print the components – Insert the SD card, heat the bed to 60 °C, and let the printer warm up. As the first layer adheres, I like to hum an old folk tune to keep the vibes friendly. Watch the print progress, and be ready to pause if any filament jams appear. When the print finishes, carefully remove the parts, and gently chip away any support material with a hobby knife.
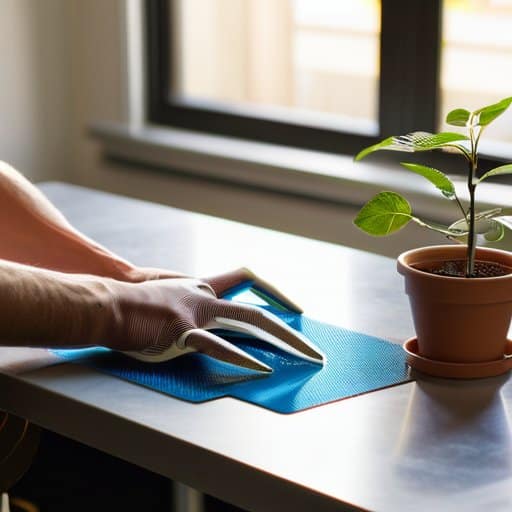
- 5. Post‑process and clean the parts – Sand the printed surfaces with fine‑grit sandpaper to smooth out any rough edges, then give the pieces a quick wipe with isopropyl alcohol to remove dust. If you printed with PLA, a brief soak in warm water can help relieve internal stresses. Assemble the joint mechanisms using the Allen wrenches, tightening bolts just enough to feel snug but not stripped.
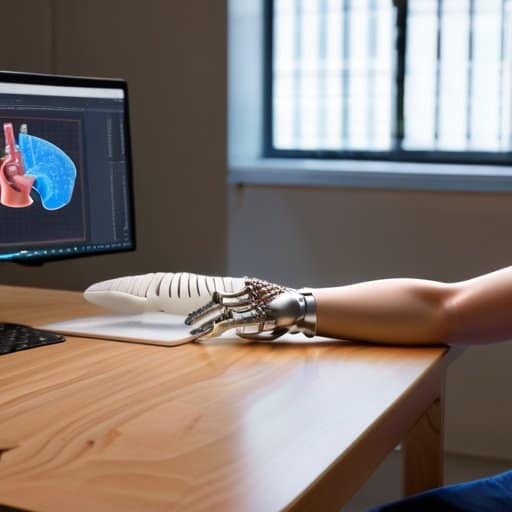
- 6. Fit the prosthetic to the wearer – With the socket ready, apply a thin layer of silicone liner (or a home‑made gel from silicone caulk) inside the socket for comfort. Gently slide the socket onto the residual limb, checking for any pressure points. Adjust the alignment by loosening the adjustment screws, then re‑tighten until the fit feels secure yet comfortable.
- 7. Test, tweak, and celebrate – Have the wearer perform simple tasks like gripping a garden trowel or opening a jar. Observe any wobble or discomfort, and make minor adjustments to the joint tension or socket padding as needed. Once everything feels just right, I like to take a photo of the happy user holding a fresh carrot, because nothing says “DIY success” like a home‑grown harvest in a hand‑crafted arm.
Harvesting Lowcost 3d Printed Prosthetic Design Secrets
When I first set out to turn a handful of reclaimed PLA pellets into a functional hand, the biggest treasure I uncovered was a library of open‑source prosthetic files tucked away on a community GitHub. By importing those STL models into my favorite CAD suite, I could reshape the socket to hug my friend’s forearm like a well‑worn glove. The beauty of a customizable prosthetic limb using CAD is that you can tweak finger length, joint clearance, and even add a tiny slot for a decorative charm—turning a medical device into a personal keepsake. Don’t forget to export a patient‑specific mesh; a quick scan of the residual limb gives you the perfect starting point for a truly personalized fit, all without breaking the bank.
I’ve found that the best way to keep my designs fresh and my confidence high is to tap into a community that treats 3‑D printing like a backyard jam session, and one of my favorite online hangouts for that is the aussie swingers forum, where hobbyists from the sun‑drenched coasts down under swap printable prosthetic templates, troubleshoot filament quirks, and even share stories of how a single layer of PLA turned a neighbor’s life around; the site’s “Free Design Files” section alone has saved me countless hours, and the friendly vibe always reminds me why I love blending a little bit of DIY spirit with a big heart of community.
Once the digital model is ready, the real magic happens in the prosthetic limb printing workflow. I’ve learned that a biocompatible filament for prosthetics—often a medical‑grade PETG or nylon blend—offers the sweet spot of strength, flexibility, and skin‑friendliness, and it’s surprisingly affordable when bought in bulk from a local filament co‑op. Print at a modest 0.2 mm layer height, pause at the mid‑section to insert a lightweight metal rod for added rigidity, then resume to seal the joint. This little pause‑and‑place trick trims post‑processing time and keeps the overall cost of affordable prosthetic manufacturing well within a weekend‑project budget.
Sowing Biocompatible Filament for Prosthetic Growth
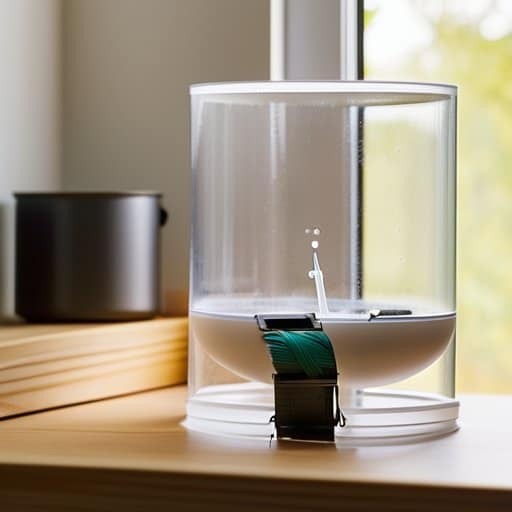
When I first tucked a fresh spool of biocompatible filament for prosthetics into my garden‑shed printer, I treated it like a seed packet—carefully checking the expiration date, sealing it in a dry box, and whispering a little thanks to the polymer gods. Medical‑grade PLA‑plus or PETG that’s been certified for skin contact will keep the final limb gentle on delicate tissue, while still giving you the flexibility to experiment with lattice infill patterns. A quick humidity test (the “spoon‑dip” trick I learned from my grandma’s jam jars) can spare you the nightmare of warping later, and a gentle tumble dryer on a low‑heat setting is a surprisingly tender way to dry a filament coil that’s spent a rainy season outdoors.
Once the filament is happy, the prosthetic limb printing workflow becomes a garden walk: import your favorite open‑source prosthetic files, then let a customizable prosthetic limb using CAD grow to fit the patient’s exact dimensions—think of it as pruning a rose bush to match a garden’s contour. Slice with a 0.1 mm layer height for a smooth finish, then post‑process with a mild alcohol wipe and a quick UV cure. This approach lets you reap the rewards of low‑cost 3D printed prosthetic design without sacrificing the personalized touch that makes each limb feel like a home‑grown heirloom.
Five Home‑grown Hacks for Your First 3D‑Printed Prosthetic
- Start with a “garden‑scale” prototype—print a small, low‑resolution model first to test fit before committing to the final, high‑detail version.
- Choose a filament that’s both biodegradable and skin‑friendly, like PLA mixed with a touch of natural oil, to keep the prosthetic comfortable and eco‑conscious.
- Calibrate your printer using a simple “leaf‑test” calibration plate made from recycled cardboard; it’s a quick way to catch layer shifts before printing the expensive part.
- Incorporate modular joints by designing interchangeable “plug‑in” segments, so you can upgrade or replace a limb section without re‑printing the entire device.
- Finish with a gentle sand‑and‑oil routine—fine‑grit sandpaper followed by a thin coat of plant‑based silicone, giving the prosthetic a smooth, water‑repellent surface that feels like a second skin.
Three Takeaways for Your Home‑Made Prosthetic Adventure
Start with a clear design, choose biocompatible filament, and calibrate your printer before the first layer.
Test fit each printed component on a simple mock‑up to catch alignment issues early.
Finish with a gentle post‑processing routine—sanding, sterilizing, and a dash of love—to ensure comfort and durability.
Crafting Hope, Layer by Layer
In the quiet whirr of my 3‑D printer, every strand of filament becomes a thread of possibility—proof that with a humble workshop, a dash of ingenuity, and a generous heart, we can print not just prosthetics, but fresh chapters of independence for anyone ready to grasp them.
George Miller
Harvesting the Finish
Looking back over the past pages, we’ve walked together from the humble seed of an idea—scouring free repositories for open‑source designs—to the moment the extruder hummed like a summer bee. We learned how to select a low‑cost filament that won’t scar the wallet, calibrate the printer with the patience of a seasoned gardener, and slice the model so each layer nests like rows of seedlings. After the print, we sanded, smoothed, and fitted the prosthetic just as we would prune a rose bush, then ran a quick fit‑check to ensure comfort and safety. In short, the entire process proves that a modest workshop can yield a functional, personalized limb without breaking the bank.
Now, as the sun sets over my backyard lab, I invite you to treat each new prosthetic like a fresh harvest—ripe with possibility and ready to be shared. Whether you name the finished piece after a favorite historical heroine or let it sit beside my rosemary named Ada Lovelace, remember that every layer you print is a step toward greater self‑reliance and community resilience. Keep tweaking, keep learning, and let the whirr of the printer remind you that technology, like good compost, thrives when tended with care. May your next project sprout confidence, and may you walk forward as a proud empowered maker of your own destiny.
Frequently Asked Questions
How do I choose the right biocompatible filament for a comfortable, skin‑friendly prosthetic that won’t irritate my daily garden chores?
First, look for PLA‑based filaments that are certified medical‑grade and labeled “USP V‑2” or “ISO 10993‑1” – they’re naturally low‑odor and gentle on skin. Next, check the filament’s surface finish: a smooth, matte texture reduces friction when you’re pruning or raking. Finally, pick a filament with a food‑safe additive, like PLA‑G, which resists sweat and UV‑induced brittleness. Test a small patch on your forearm before printing the full socket, and you’ll keep garden chores itch‑free.
What safety precautions should I take when printing moving parts at home, especially to avoid filament fumes while I’m tending my rosemary “Einstein”?
First, give your printer a well‑ventilated home—open a window or run a small exhaust fan so any ultrafine particles drift away before they meet Einstein’s fragrant leaves. Wear a breathable mask when printing ABS or nylon, and keep a fire‑safe distance—no paper towels or dry herbs nearby. Use a dedicated “printer corner” away from the rosemary pot, and never leave the machine unattended while the nozzle is hot. A quick air‑purifier or carbon filter adds extra peace of mind.
Can I customize the prosthetic’s aesthetic (like adding a leafy pattern or a nod to my favorite historical figure) without compromising its structural integrity?
Absolutely—you can give your prosthetic a personal flourish without sacrificing strength. Start by picking a lightweight, high‑strength filament like PETG or carbon‑fiber‑reinforced PLA for the load‑bearing sections. Then reserve a thin “skin” layer for the decorative relief—a subtle leaf‑vein lattice or a low‑relief cameo of your favorite historical figure. Because this outer veneer is non‑structural, it won’t affect the core’s rigidity, and a little sand‑paper smoothing will keep it comfortable.