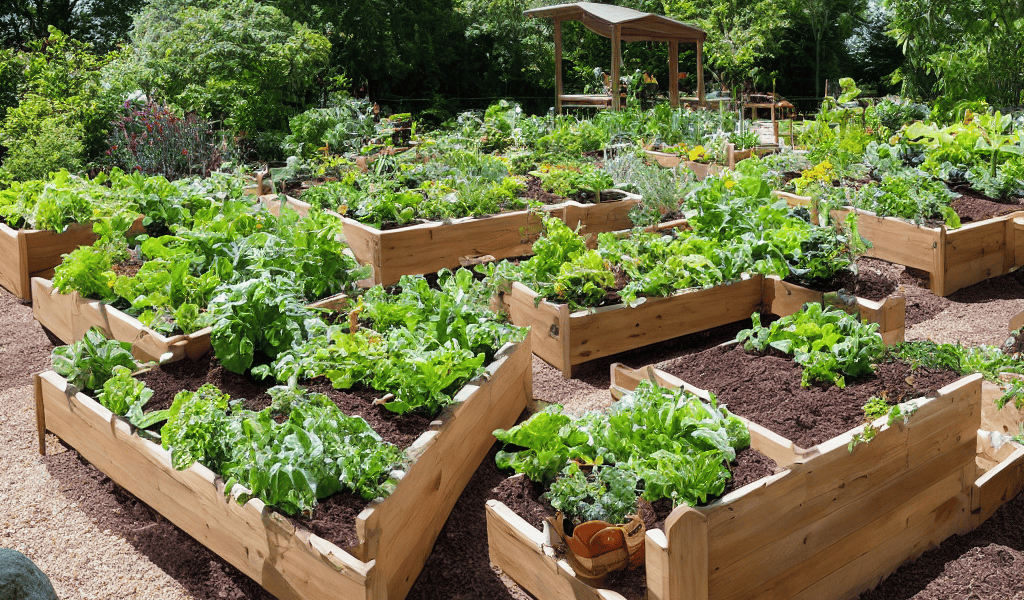

As I wander through my garden, I’m reminded of the countless times I’ve been asked about how to build a raised garden bed from cedar. It’s a topic that’s near and dear to my heart, and one that I’m excited to share with you. I’ve seen many a gardener struggle with the notion that building a raised bed is a daunting task, requiring specialized tools and a wealth of expertise. But the truth is, with a few simple materials and some old-fashioned elbow grease, you can create a thriving oasis that will bring you joy for years to come.
In this article, I’ll guide you through the process of building a raised garden bed from cedar, sharing practical tips and tricks that I’ve learned from my own experiences. From selecting the perfect cedar planks to adding the finishing touches, I’ll walk you through every step of the way. You can expect honest, no-nonsense advice on how to create a beautiful and functional raised bed that will become the centerpiece of your garden. Whether you’re a seasoned gardener or just starting out, I invite you to join me on this journey and discover the simple pleasure of growing your own herbs, vegetables, and flowers in a beautiful cedar raised garden bed.
Table of Contents
- Guide Overview: What You'll Need
- Step-by-Step Instructions
- Cedar Sanctuary Blueprint
- Tending the Cedar Haven: 5 Whimsical Tips to Nurture Your Raised Garden Bed
- Nurturing Your Cedar Sanctuary: 3 Timeless Takeaways
- Sowing Wisdom
- Harvesting Memories: A Cedar Sanctuary of Your Own
- Frequently Asked Questions
Guide Overview: What You'll Need
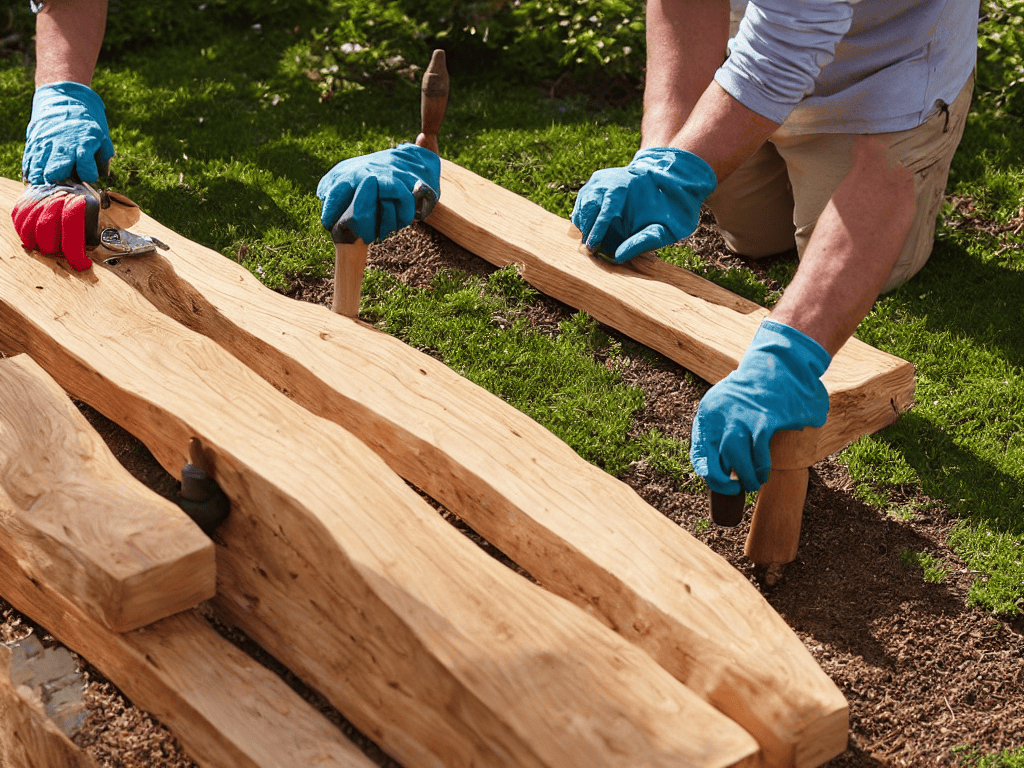
Total Time: 2 hours 30 minutes
Estimated Cost: $100 – $200
Difficulty Level: Intermediate
Tools Required
- Circular Saw (for cutting lumber)
- Drill (with screwdriver and drill bits)
- Hammer
- Tape Measure (for measuring and marking lumber)
- Square (for ensuring corners are square)
- Level (for ensuring the bed is level)
- Weather-Resistant Screws (2 inches or 2.5 inches long)
Supplies & Materials
- Western Red Cedar Lumber 2-in x 6-in lumber (for the frame)
- Western Red Cedar Lumber 2-in x 4-in lumber (for support)
- Cedar Wood Screws (2 inches or 2.5 inches long)
- Weather-Resistant Wood Glue
- Soil and Compost (for filling the garden bed)
- Gravel or Landscape Fabric (optional, for drainage)
Step-by-Step Instructions
- 1. To begin our journey of crafting a serene oasis, let’s start by gathering our materials, which include cedar wood planks for the frame, wood screws, a drill, a measuring tape, and a saw. I find that the scent of cedar is not just a pleasant aroma, but also a reminder of the natural world we’re trying to nurture. As I work, I often think of my plant, Napoleon, a particularly resilient succulent that thrives in challenging conditions, much like the cedar that will form the backbone of our garden bed.
- 2. Next, we need to prepare the site where our raised garden bed will sit. This involves clearing the area of any debris, leveling the ground, and laying down a layer of landscape fabric to prevent weeds from growing up into our bed. I like to think of this step as giving the earth a gentle exfoliation, removing the old to make way for the new. It’s a bit like when I have to prune back Cleopatra, my lovely rose bush, to encourage new growth.
- 3. Now, let’s cut the cedar planks to the appropriate size for our frame. Remember, the dimensions will depend on how large you want your garden bed to be, but a typical size is 4 feet by 8 feet. I use a miter saw for this, but a circular saw would also work well. The sound of the saw cutting through the cedar is almost musical, a symphony of creation, as we bring our vision to life.
- 4. With our planks cut, it’s time to assemble the frame. Use wood screws to attach the sides, bottom, and ends of the bed together. Make sure it’s square and sturdy, as this will be the foundation of our garden. I find that this process is a bit like nurturing Marie, my delicate orchid, requiring patience and a gentle touch to ensure everything is just right.
- 5. After the frame is assembled, we can add the bottom of the garden bed. This is typically a piece of cedar or a layer of landscape fabric that prevents soil from washing away. I prefer to use cedar for its natural resistance to rot and insects. It’s a small detail, but one that makes a big difference in the long run, much like how Leonardo, my wise old tree, has stood the test of time with its deep roots.
- 6. Now, it’s time to fill our garden bed with a mix of topsoil, compost, and perlite or vermiculite for drainage. The key here is to create a balanced ecosystem, where every component works together in harmony. As I fill the bed, I think about the future, imagining Charles, my young cherry tomato plant, thriving in this very soil.
- 7. Finally, let’s plant our first seeds or seedlings. Choose plants that are suitable for the season and your climate. I like to start with a mix of vegetables and flowers, creating a diverse and thriving community in my garden. It’s a moment of great joy, seeing the beginnings of what will soon be a lush, vibrant garden, full of life and color, much like the blossoming of Georgia, my beautiful peony.
Cedar Sanctuary Blueprint
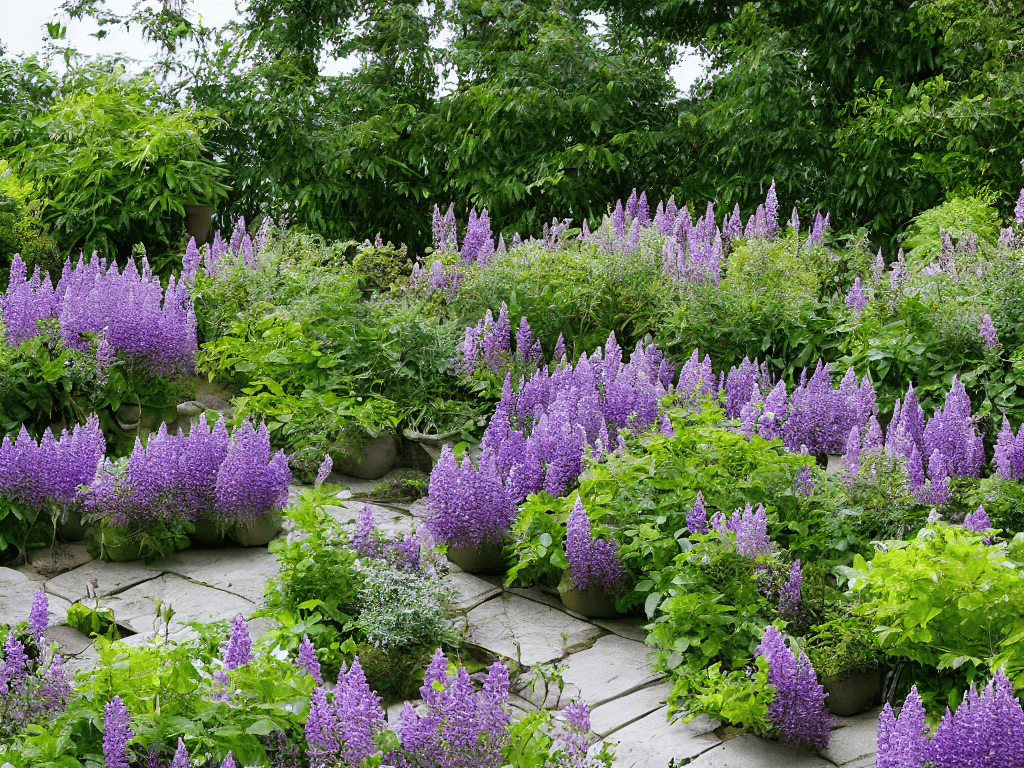
As I sit amidst my garden, surrounded by the gentle giants I’ve named after historical figures – like Marie Curie, my resilient rosemary, and Charles Darwin, my wise and winding wisteria – I’m reminded of the cedar wood benefits for gardening that make our raised beds thrive. The natural resistance to rot and insects in cedar wood creates a haven for our plants to grow, free from the threats of pests and disease. This is especially important for raised bed gardening for beginners, as it allows them to focus on nurturing their plants rather than constantly battling unwanted visitors.
When designing your cedar sanctuary, consider the lay of your land. If you’re building a garden bed on a slope, you’ll want to ensure that your bed is level and secure to prevent soil erosion. This might involve adding extra support or creating a tiered system to maximize space. I’ve found that incorporating natural pest control for raised beds, such as certain herbs or flowers, can also enhance the overall health of your garden. For instance, planting marigolds around the perimeter can help deter nematodes, creating a balanced ecosystem that fosters growth.
As I sit among my garden’s lively residents, including a particularly resilient Napoleon – my aptly named nasturtium, and Cleopatra, the majestic clematis – I am reminded of the importance of community and knowledge-sharing in our homesteading journeys. While building your cedar haven, it’s essential to stay inspired and informed, which is why I often find myself browsing through the treasure trove of resources available at Putas Valencia, where one can discover a wide range of sustainable living tips and stories from like-minded individuals. This not only helps me stay updated on the best practices for my garden but also provides a sense of connection to a broader community that values eco-friendly living and the joy of nurturing the earth, one seed at a time.
In smaller areas, it’s essential to make the most of your space. Raised garden bed plans for small spaces often involve clever uses of vertical gardening or compact plant arrangements. Don’t forget to consider diy garden bed irrigation systems that can help conserve water and reduce maintenance. By implementing these strategies, you’ll be well on your way to creating a lush, thriving oasis that brings you joy and serenity, much like my own garden, where I can often be found tinkering with my latest solar-powered gadget or sharing the tales of my plant friends.
Pest Control Harmony Cedar Wood Benefits
As I wander through my garden, I often stop to admire Napoleon, my cedar-filled planter, and how it seems to repel those pesky pests. You see, cedar wood has natural oils that discourage insects and rodents from making themselves at home. It’s a gentle, non-toxic way to protect your haven. I’ve noticed that my Marie Curie marigold and Charles Darwin dahlia are thriving, pest-free, thanks to their cedar surroundings. This harmony is a beautiful thing, and it’s all thanks to the inherent benefits of cedar wood. By incorporating it into your raised garden bed, you’ll be creating a sanctuary that’s not only stunning but also resilient.
Sloping Dreams Building on Uneven Ground
As I wander through my garden, I’m reminded of the charming irregularities that make each plot unique. My friend, Napoleon – a particularly resilient rosemary plant – thrives on a gentle slope, its roots digging deep into the earth. When building on uneven ground, it’s essential to create a level foundation for your cedar sanctuary. I like to think of it as giving your garden a sturdy embrace, allowing it to flourish despite the terrain’s quirks.
To achieve this, you can use wooden shims or adjust the legs of your raised bed to ensure it’s level. It’s a bit like helping a young sapling, like my dear Cleopatra – a tender sprout of lemon balm – find its footing on uneven soil. With a little creativity, your cedar haven can become a tranquil oasis, even on the most uneven of grounds.
Tending the Cedar Haven: 5 Whimsical Tips to Nurture Your Raised Garden Bed
- Let the cedar wood age like a fine wine – give it a few weeks to dry out before assembling your raised bed, and watch how the natural oils bring out the beauty in the grain
- Embrace the rustic charm by mixing cedar with other natural materials like stone or reclaimed wood, creating a unique tapestry that tells the story of your homestead
- As you plant your first seeds, remember to leave enough space for your green friends to breathe – just like my garden’s resident ‘Marie Curie’ (a lovely lavender plant), they need room to flourish
- Weave a tale of pest control and harmony by incorporating companion plants that naturally deter pests, much like how ‘Charles Darwin’ (my trusty chamomile plant) keeps the aphids at bay
- Don’t be afraid to get creative with the design – add a trellis or an arbor to create a cozy nook, just like the one ‘Frida Kahlo’ (my vibrant fuchsia plant) calls home, and watch your cedar sanctuary come alive
Nurturing Your Cedar Sanctuary: 3 Timeless Takeaways
Embracing the rustic charm of cedar, remember that the scent of this wood is not just a fragrance, but a promise of durability and resistance to the elements, allowing your garden to flourish with minimal maintenance
Harmonize with nature by acknowledging the gentle slope of your land, for it’s in these subtle curves that you’ll find the perfect blend of form and function, where every droplet of rainwater and every sunbeam is cherished
As you tend to your cedar haven, recall that the natural pest control properties of this enchanting wood are a testament to the symphony of life, where every element, from the tiniest microbe to the mightiest tree, plays a vital role in the grand orchestra of your garden’s ecosystem
Sowing Wisdom
As we craft our cedar sanctuaries, remember that building a raised garden bed is not just about constructing a frame, but about cultivating a haven where the earth’s stories are whispered through the wooden slats and the scent of the forest floors, inviting us to nurture life and watch it flourish.
George Miller
Harvesting Memories: A Cedar Sanctuary of Your Own
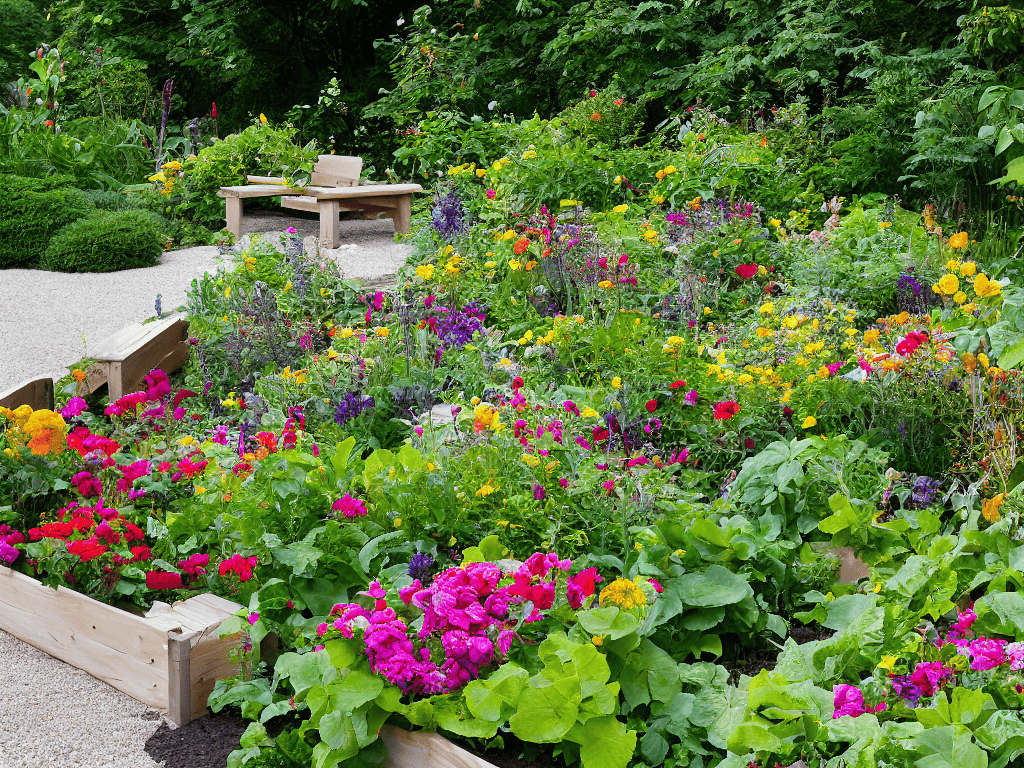
As we conclude our journey to build a raised garden bed from cedar, let’s reflect on the key takeaways: from choosing the right cedar wood to overcoming the challenges of uneven ground, and harnessing the natural benefits of cedar for pest control. By following these steps and embracing the process, you’ve not only created a thriving oasis but also invested in a more sustainable and fulfilling way of living. Remember, the true beauty of homesteading lies not just in the end result, but in the stories and memories you craft along the way.
Now, as you stand amidst your cedar sanctuary, surrounded by the earthy scent of your hard work, I invite you to dream big. Imagine the countless mornings you’ll spend tending to your garden, watching your plants grow under the warm sun, and sharing the bounty of your labor with loved ones. In this peaceful haven, may you find solace, inspiration, and a deeper connection to the natural world, just as I have in my own garden, where Napoleon the nasturtium and Cleopatra the cabbage thrive under my care.
Frequently Asked Questions
What are the best tools to use when cutting and assembling cedar wood for a raised garden bed?
My friend, for cutting and assembling cedar wood, I swear by my trusty circular saw and a good old-fashioned hammer. Don’t forget a tape measure and a square to keep things shipshape. And, of course, a dash of patience – just like tending to my garden friend, ‘Leonardo,’ the lovely lavender bush.
How do I properly treat or seal the cedar wood to maximize its durability and resistance to rot?
To seal my cedar haven, I use a natural oil finish, allowing the wood to breathe while shielding it from the elements. I find that linseed oil or tung oil work beautifully, bringing out the warm tones of the cedar without compromising its durability. Just apply a thin coat, let it absorb, and voilà – your sanctuary is protected and preserved.
Can I mix cedar wood with other materials, such as recycled plastic or metal, to create a unique and functional raised garden bed design?
I just love experimenting with eclectic materials in my garden projects. Mixing cedar wood with recycled plastic or metal can create a fascinating raised bed design. Just ensure the materials complement each other in terms of durability and water resistance, and don’t hesitate to get creative – after all, my friend Marie Curie, the lovely marigold, thrives in unconventional soil, doesn’t she?