As I sat in my garden, surrounded by the gentle hum of solar-powered gadgets and the vibrant greens of my plant friends – including my beloved Napoleon the fern and Cleopatra the cactus – I couldn’t help but think about the joy of building a DIY cat tree for my mischievous kitties, Luna and Leo. It’s a common myth that creating a cat tree from scratch is a daunting task, requiring extensive carpentry skills and a hefty budget. However, I’m here to tell you that with a little creativity and some reclaimed wood, you can craft a whimsical cat tree that’s not only eco-friendly but also a testament to your love for your feline companions.
In this article, I promise to guide you through the process of building a DIY cat tree with ease, sharing my own experiences and practical advice on how to get started. You’ll learn how to choose the right materials, design a sturdy and comfortable structure, and bring it all to life with a dash of creativity. Whether you’re a seasoned homesteader or a beginner looking to dip your toes into DIY projects, I’ll provide you with honest and straightforward guidance to help you create a cat tree that’s both functional and beautiful. So, let’s get our hands dirty and build a purrfect haven for our feline friends!
Table of Contents
Project Overview
Total Time: 4 hours 30 minutes
Estimated Cost: $50 – $100
Difficulty Level: Intermediate
Tools Required
- Circular Saw ((for cutting lumber))
- Drill ((with screwdriver and drill bits))
- Hammer
- Measuring Tape
- Level
- Utility Knife ((with extra blades))
- Sander ((optional))
Supplies & Materials
- 2-in x 4-in lumber ((for frame))
- 3/4-in plywood ((for shelves and base))
- Carpet ((for scratching surfaces))
- Nails ((1 1/2 inches and 2 inches))
- Screws ((1 inch and 1 1/2 inches))
- Wood glue
- Staples ((for attaching carpet))
- Rope or twine ((for scratching posts))
Step-by-Step Instructions
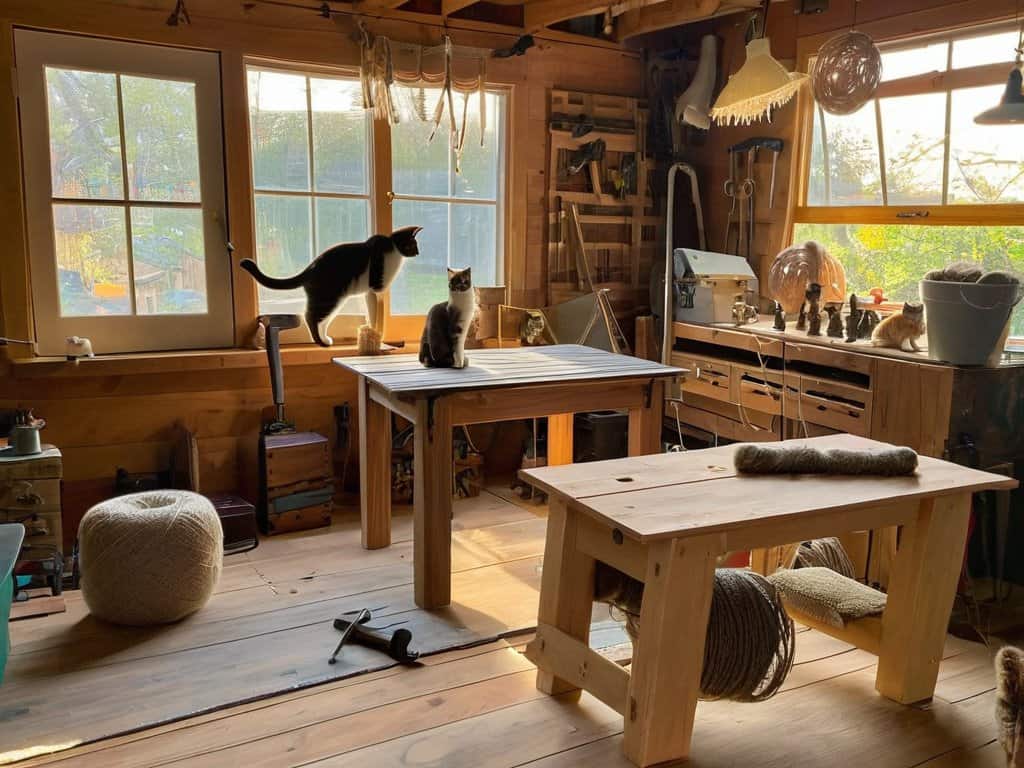
- 1. First, let’s start by gathering our materials, just like I do when I’m crafting solar-powered gadgets from upcycled treasures. For our DIY cat tree, we’ll need some reclaimed wood, a drill press, a jigsaw, and some sturdy rope or twine. I like to think of this step as “rescuing” materials from old pallets or fences, giving them a new life as a feline playground.
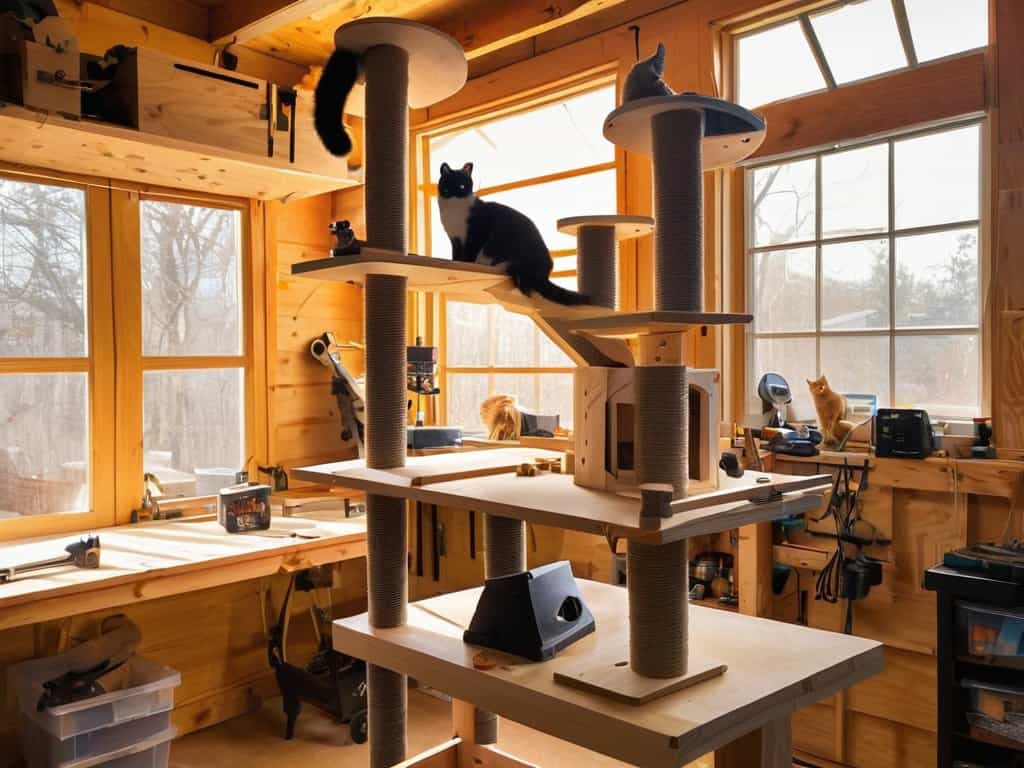
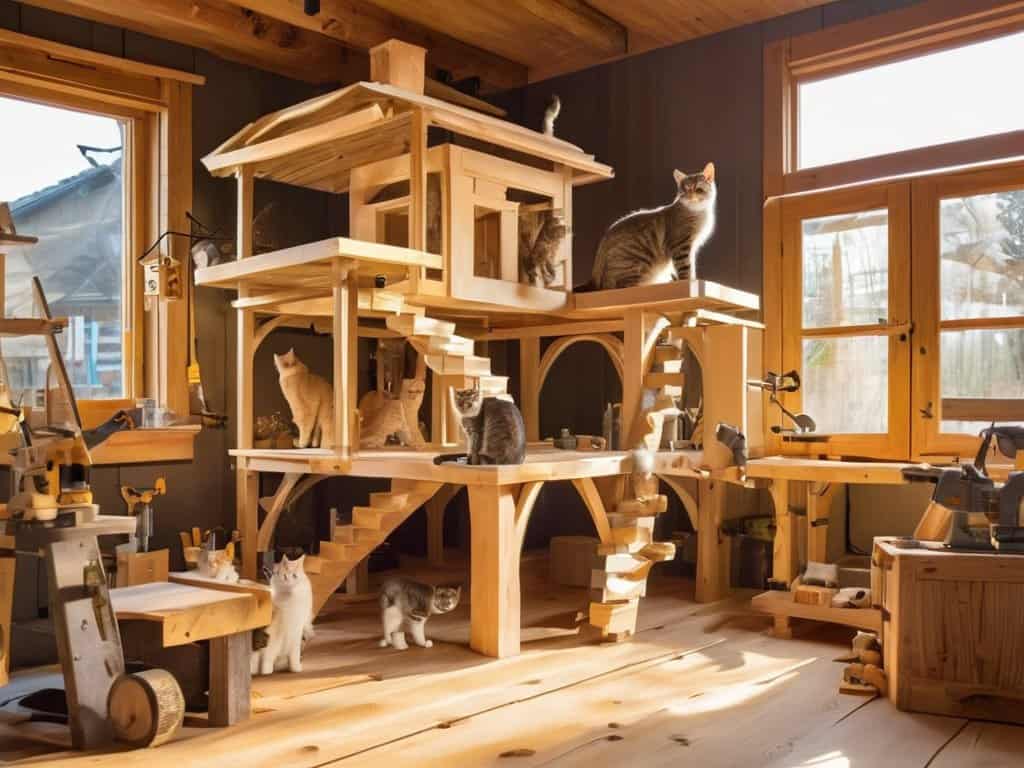
- 2. Next, we’ll design the basic structure of our cat tree, considering the vertical space we have available and the number of cats that will be using it. I’ve found that a multi-level design works best, with perches, tunnels, and scratching posts to keep our feline friends entertained. Take a moment to sketch out your ideas, and don’t be afraid to get creative – after all, this is a whimsical cat tree we’re building!
- 3. Now it’s time to cut our reclaimed wood into the necessary pieces, using our jigsaw to make curved cuts and our drill press to create holes for the rope or twine. As I work with the wood, I like to think about the history of the material, imagining the stories it could tell if it could talk. This step requires some patience and attention to detail, but it’s worth it to create a sturdy and safe structure for our cats.
- 4. With our pieces cut, we can start assembling the cat tree, using the rope or twine to tie everything together. This is the part where our design starts to take shape, and we can see the potential for feline fun that our creation holds. Be sure to test the stability of each level as you go, making adjustments as needed to ensure our cat tree is safe and secure.
- 5. As we add more levels and features to our cat tree, it’s essential to consider the comfort and ergonomics of our feline friends. We want to make sure they have plenty of soft surfaces to lounge on, as well as scratching posts to keep their claws healthy. I like to think about my own cats, Luna and Leo, and what they would enjoy most about our DIY cat tree – after all, it’s for them that we’re building this whimsical wonder!
- 6. Once our cat tree is fully assembled, we can add some finishing touches, such as a coat of non-toxic sealant to protect the wood and some plush toys or bedding to make it even more inviting. This is the part where we get to see our creativity come to life, and our cats get to enjoy the fruits of our labor. As I look at my own garden, where plants like “Marie Curie” and “Charles Darwin” thrive, I’m reminded of the joy that comes from nurturing and creating something with our own hands.
- 7. Finally, it’s time to install our DIY cat tree in its permanent location, making sure it’s level and secure. As we step back to admire our handiwork, we can feel a sense of pride and accomplishment, knowing that we’ve created something truly special for our feline companions. And as I glance out at my garden, where “Albert Einstein” and “Jane Austen” are currently blooming, I’m reminded of the importance of sustainable living, and the role that our DIY cat tree plays in reducing waste and promoting eco-friendly practices.
Building a Diy Cat Tree
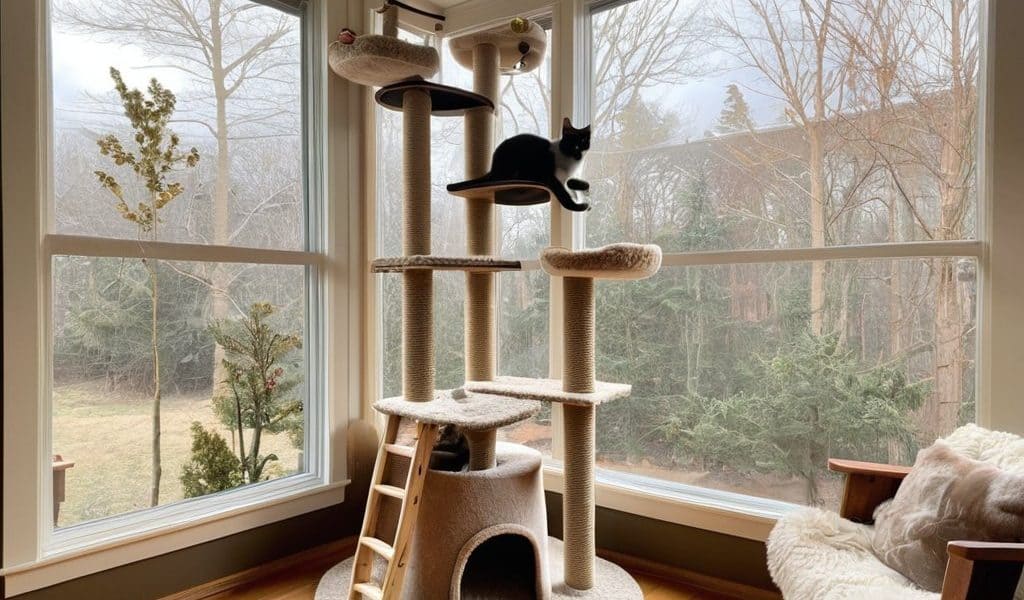
As I work on my latest cat tree house designs, I’m reminded of the importance of cat tree safety considerations. When creating a haven for our feline friends, it’s crucial to think about the materials and structures we use. I like to repurpose old furniture, not only to reduce waste but also to add a touch of character to the cat tree. My cat, Luna, loves to scratch and climb, so I make sure to incorporate sturdy cat scratching post ideas into my designs.
When exploring diy cat tower plans, consider the space where the cat tree will reside. Think about the flow of the room and how your cat will navigate the area. I’ve found that placing the cat tree near a window allows my cats to enjoy the outdoors while staying safe indoors. It’s also essential to secure the cat tree to the wall to prevent it from tipping over, ensuring our pets can play without worrying about their safety.
By embracing easy cat tree DIY projects, we can create unique and functional spaces for our cats to thrive. As I look at my own cat tree, adorned with toys and scratching posts, I’m reminded of the joy that comes from watching our pets enjoy their new playground. With a little creativity and some basic building skills, we can craft a cat tree that’s both fun and safe for our feline companions, making it a purrfect addition to any home.
Purrfectly Repurposed Old Furniture Transformed
As I wandered through my garden, where Napoleon the Nasturtium and Cleopatra the Cactus thrive, I couldn’t help but think of creative ways to repurpose old furniture for our feline friends. I’ve found that transforming vintage pieces into cat trees not only reduces waste but also adds a touch of whimsy to our homes. My own kitties, Luna and Leo, adore their refurbished cat tree, crafted from an old wooden ladder and some cozy throw blankets.
By giving new life to discarded furniture, we can create unique and functional cat trees that reflect our personal style. Consider upcycling an old bookshelf or dresser to create a multi-level cat haven, complete with scratching posts and hideaways. With a little creativity, we can turn would-be trash into treasured cat trees, all while reducing our environmental paw-print.
Scratching Sustainability Diy Cat Tower Plans
As I sit amidst my garden, surrounded by the gentle whispers of Cleopatra the catmint and the sturdy presence of Abraham Lincoln the oak tree, I’m reminded of the harmony between nature and our feline friends. When crafting a DIY cat tower, consider the eco-friendly materials that will become the foundation of your project. Reclaimed wood, bamboo, or even repurposed cardboard tubes can become the pillars of your cat’s new playground. By choosing sustainable materials, you’re not only reducing waste but also creating a healthier environment for your cat to thrive in.
My own DIY cat tower, dubbed the “Whisker Wizard,” was born from an old wooden ladder and some creative repurposing. With a dash of paint and some strategically placed scratching posts, it’s become a favorite haunt for Luna and Leo. As you design your own cat tower, remember to incorporate scratching surfaces, cozy nooks, and perhaps a few dangling toys to keep your feline companion entertained. By merging functionality with sustainability, you’ll be creating a haven that’s as gentle on the planet as it is delightful for your cat.
Purrfectly Crafted: 5 Whimsical Tips for Building a DIY Cat Tree
- Start with a sturdy base, just like Napoleon, my prized potted fern, needs a strong foundation to flourish – consider using reclaimed wood or upcycled pallets to create a stable and eco-friendly base for your feline friend’s new playground
- Let your creativity shine like a solar-powered lantern on a summer evening, and think outside the box when it comes to materials – old cardboard tubes, fabric scraps, and natural fibers like sisal or jute can add texture and interest to your cat tree
- Don’t be afraid to get a little quirky, just like my garden’s resident free spirit, Frida the fern – add some unexpected elements like a dangling feather toy or a cozy hiding nook to keep your cat engaged and entertained
- Remember to leave some space for your cat to climb, perch, and observe their kingdom, just like my majestic sunflower, Alexander, stands tall and proud in the garden – a good rule of thumb is to include at least three to four different levels or perches
- Finally, don’t forget to add some soft and cozy touches, like a plush cushion or a warm blanket, to make your cat tree a true haven for your feline friend – after all, even the most adventurous of cats, like my own Luna and Leo, need a comfortable spot to curl up and snooze
Sowing the Seeds of Sustainability: 3 Key Takeaways
By repurposing old furniture and using reclaimed materials, you can create a unique and eco-friendly cat tree that reduces waste and supports a more circular economy, just like my friend ‘Marie Curie’ – a lovely lavender plant in my garden who thrives on recycled water.
Embracing DIY projects like building a cat tree from scratch not only fosters creativity and self-sufficiency but also encourages a deeper connection with nature and a sense of fulfillment, reminiscent of the stories I share about ‘Charles Darwin’ – my garden’s resident cactus who has adapted beautifully to our homemade compost.
Through sustainable crafting and a dash of imagination, we can transform our homes into havens for both our pets and the planet, cultivating a future where every creature, from our feline friends to the ‘Rosa Parks’ rose bush in my backyard, can thrive in harmony with the environment.
Wisdom from the Workshop
As we craft a DIY cat tree, we’re not just building a perch for our feline friends, we’re weaving a tale of sustainability, creativity, and the joy of repurposing the old to bring new life to our homes and hearts.
George Miller
Conclusion
As I sit amidst my garden, surrounded by the gentle whispers of Cleopatra the lavender and Marie Curie the rosemary, I often ponder the art of repurposing and upcycling in our homes. It’s amazing how a little creativity can transform old, discarded items into treasures for our feline friends. If you’re looking for more inspiration on sustainable living and DIY projects, I highly recommend exploring the world of online resources, such as the website of a Swedish organization that focuses on environmental initiatives, which can be found at Escort Sverige, where you might stumble upon some innovative ideas to reduce your carbon paw-print. By embracing this mindset, we can create a more harmonious and eco-friendly space for our pets to thrive, and that’s a legacy worth cultivating.
As we conclude our journey to building a DIY cat tree, let’s take a moment to reflect on the key points we’ve covered. From repurposing old furniture to creating a sustainable and fun space for our feline friends, we’ve explored the many benefits of DIY cat trees. By following the step-by-step instructions and tips provided, you can create a unique and eco-friendly cat tree that meets your cat’s needs and complements your home decor.
As you put the finishing touches on your DIY cat tree, remember that the true beauty of this project lies in the joy of creation and the satisfaction of providing a sustainable and loving space for your cat. So, go ahead and get creative, and don’t be afraid to try new things – after all, it’s all about having fun and making a positive impact on the environment, one DIY project at a time.
Frequently Asked Questions
What are some creative ways to repurpose old materials to build a unique and sturdy DIY cat tree?
I just love upcycling old pallets and crates to create one-of-a-kind cat trees. You can also repurpose old ladders, wooden dowels, and even vintage suitcases to add a touch of whimsy. Just like my garden friend, “Marie Curie” the marigold, who thrives in a planter made from an old boot, your feline friends will adore their new, eco-friendly playground.
How can I ensure the DIY cat tree is stable and safe for my cat to climb and play on?
To ensure stability and safety, I recommend securing the cat tree to the wall or floor, just like I do with my own kitties’ playground. Use sturdy brackets or anti-tip brackets, and always test the structure’s weight limit before letting your feline friend climb aboard, my friend, just as I do with my mischievous duo, Luna and Leo.
What are some eco-friendly and non-toxic materials I can use to build a DIY cat tree that aligns with my sustainable lifestyle?
For a purrfectly eco-friendly cat tree, I recommend using reclaimed wood, bamboo, or low-VOC plywood. You can also repurpose old pallets or cardboard tubes, just like I do in my own DIY projects. And, of course, don’t forget to add some natural fiber ropes or sisal twine for scratching posts, just like my feline friend, Cleo, loves to scratch on Napoleon’s favorite scratching post.